Important: This article is for informational purposes only. Please read our full disclaimer for more details.
Arthritis is one of the deadly diseases that most people never wish to have. It is often characterized by the inflammation of the body’s joints and muscles which eventually becomes severe and painfully, therefore, hindering movement. Various scholars in the medical sector have tried to come up with several treatment and control techniques but they haven’t yet arrived at a reliable means.
A recent study showed that there is a high possibility in rising numbers of arthritis patients in the US and UK by the year 2040. Additionally, approximately 43.2% of adults are expected to experience severe implications of arthritis. However, yoga poses can greatly help people manage this outcome if they can seriously go through them. This article looks into the best Yoga poses for arthritis.
9 Best Yoga Poses for Arthritis Relief
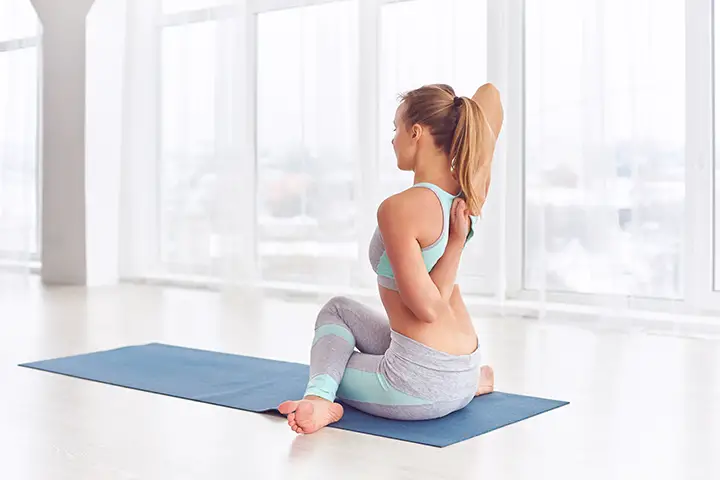
1. Cow Face Pose
It is a shoulder stretching and hip opening yoga pose. Cow face pose stretches almost all the body parts.
How to do:
- Sit while cross-legged for to be more comfortable. Since most arthritis victims experience pain in their joints.
- They can raise their hips by sitting on a soft piece of a block then elongate your hands so that they can meet each other at the middle of the back.
- Likewise, in case it is impossible for you to turn your hands then let a belt act as the joining point whereby you will have to hold on to both ends of the belt as you stretch out without using force.
Benefits:
- It makes the hands and shoulders joints flexible by stretching them.
- It triggers blood circulation in the body, therefore, increasing fluid circulation which lubricates the joints.
[ Read: Simple Exercises for Arthritis Relief ]
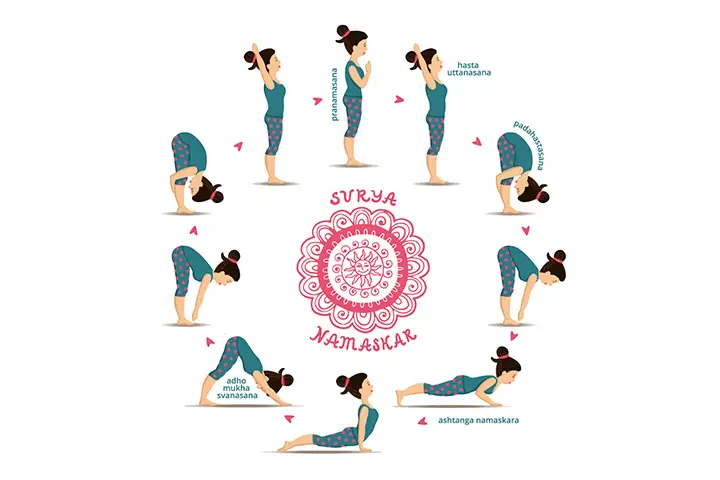
2. Surya Namaskar
It is commonly referred to as the sun salutations and therefore meant to be performed during morning hours.
How to do:
- Stand still and relaxed using both feet while touching each other on the sides.
- Join both hands palm wise and place them on the chest.
- Thereafter breath out deeply while your hands are raised high and start bending backwards while maintaining the hands beyond the head.
- It’s advisable to always hold your breath after exhaling.
Benefits: It makes the body more comfortable and flexible by stretching both the joints and the spine.
[ Read: Yoga Poses to Heal Pinched Nerve ]
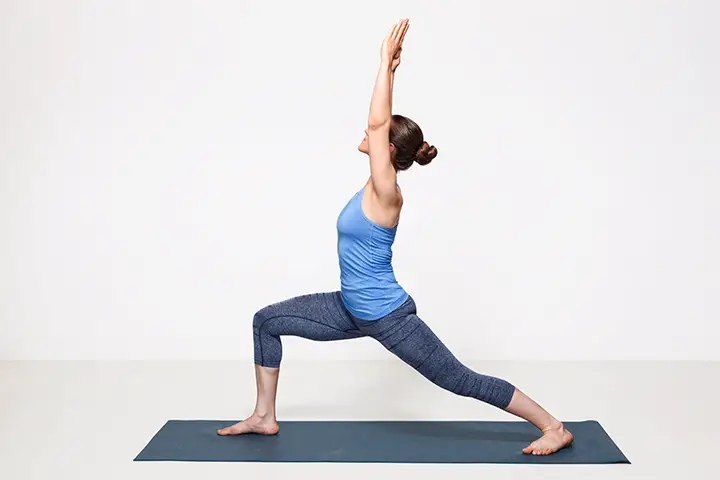
3. Virabhadrasana
It is one of the powerful yoga poses that involves a series of steps and was named after virabadhra, a very energetic worrier among the Hindu community. This is probably the most technical yoga pose for arthritis and is sometimes known as the warrior pose.
How to do:
- In the upright standing position, space your legs wide enough with the left foot occupying the back position while the right foot on the forefront.
- You can either choose to turn both feet on the same or opposite direction while the hands are vertically raised up to the shoulders level and the palms facing upwards.
- Finally, you have to exhale while bending the right knee until they align with the ankle.
- This can be done severally in order to get the best results.
Benefits:
- It gives energy to the back, the hands and the legs.
- It generates heat that is necessary for stimulating the frozen muscles and joints.
[ Read: Yoga Poses for Ankylosing Spondylitis ]
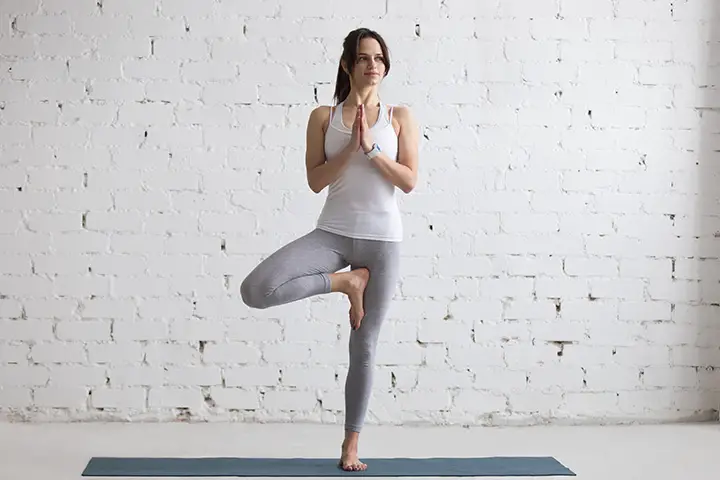
4. Tree Pose
Tree pose is also a balancing yoga pose which needs the yoga to stand firm on the ground, using only one leg.
How to do:
- Simply stand upright and lift one leg so that the body is supported by one leg.
- Ensure your palms touch each other and are either raised or place on the chest. Repeat this procedure by supporting the body using a different leg.
Benefits:
- The supporting legs and joints get strengthened by supporting the whole body mass.
- The body balance is also developed.
- Knees get the stamina and the strength of turning during movement.
[ Read: Yoga Poses to Ease Sciatica Pain ]
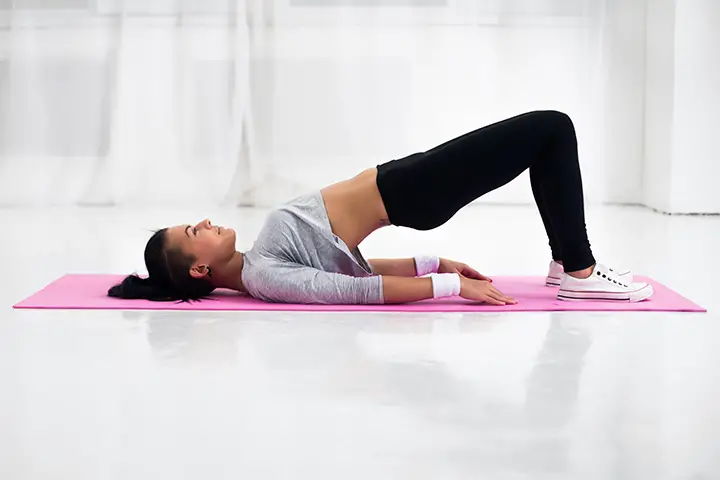
5. Bridge Pose
This is one of the beginners yoga poses that is specifically meant for back-bending
How to do:
- Lie on your back on a fairly level surface keeping your feet flat.
- Ensure the arms, the head and the back are in contact with the surface then raise your hips vertically upwards.
- The other body parts should maintain their positions except for the hands which can be stretched to touch the legs if you are capable.
Benefits:
- The bridge pose increases the flexibility of both the hips joints and the spine through the contractions that are involved during the exercise.
- However, this style can easily rejuvenate pains to individuals who have injuries and it is, therefore, safe to avoid while in such a situation.
[ Read: Yoga Poses to Prevent Osteoporosis ]
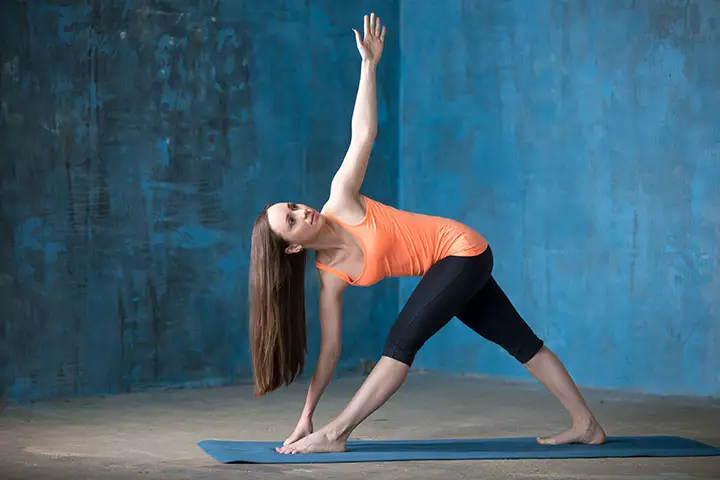
6. Triangle Pose
It is a variational yoga pose that involves a number of stylistic activities. Apparently, it is the basis for all yoga poses since many people have gone through it in one way or the other.
How to do:
- It only requires you to widen your legs some degrees apart while standing in an upright posture.
- Start by bending towards one side of the stretched legs and touching the toes.
- As the hip bends, the hands should also move while they are stretched completely by 180.
Benefits:
- The groin is stretched and therefore it eliminates the pains that are usually associated with arthritis.
- Both the chest and shoulders are opened enabling gaseous exchange to take place effectively.
- It also promotes the balancing stability of individuals.
[ Read: Yoga Poses for Neck Pain Relief ]
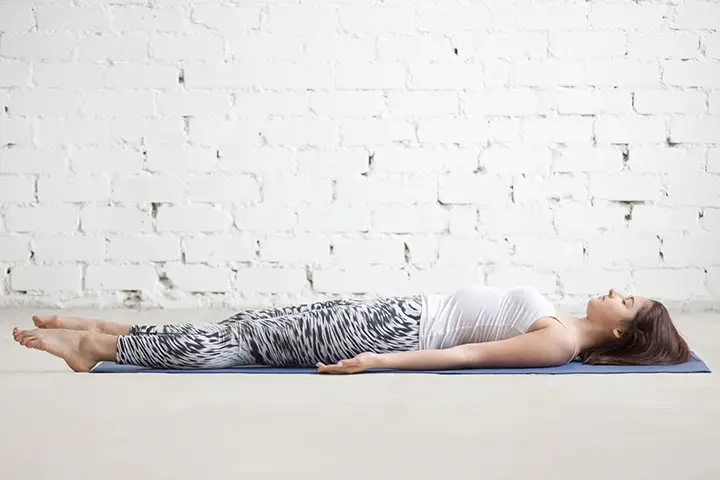
7. Corpse Pose
It is the best relaxation yoga pose that cools the body making it feel better. Basically, it usually comes last after going through the most technical poses. It should be done in the evening when the sun has gone down.
How to do:
- In order to feel the outcomes of corpse pose, it is advisable to lay your body on a soft surface while the legs and arms spread.
- Exhale and inhale deeply then keep your eyes closed while laying for about 10 minutes.
Benefits:
- It cools the body, therefore, revealing it from arthritis stress.
- It also activates the brain, therefore, keeping the body active.
[ Read: Best Yoga Asanas for Weight Loss ]
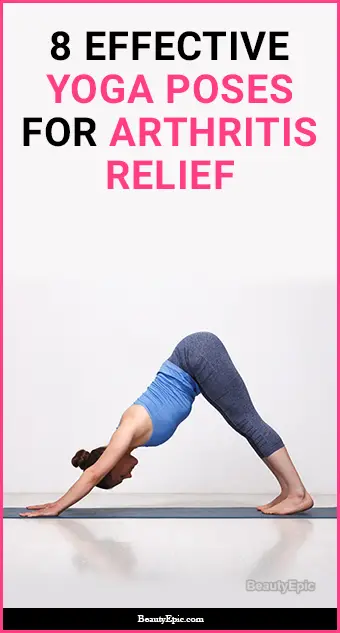
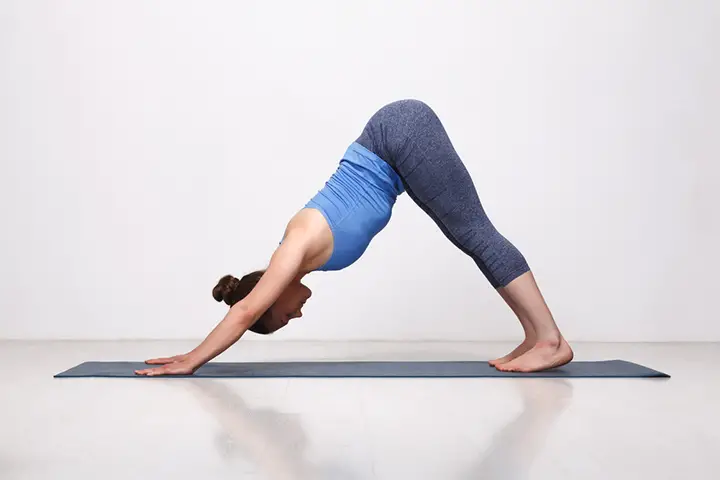
8. Downward Facing Dog
Just as the name suggests, an individual is required to assume the shape of a dog while performing this exercise.
How to do:
- Simply bend down and let the body be supported by both your hands and legs.
- Make sure that both the wrists and the shoulders are aligned with the wrists placed slightly ahead of the shoulders.
- Likewise, the hips should align with the knees then spread the fingers and stand of your toes while you are still in this position.
- Move your tailbone slowly, upwards and away from the pelvis and raise the sitting part upwards beyond the hips.
- Start moving the legs slowly inwards towards the stomach.
Benefits:
- Just like other yoga poses, it also improves the flexibility of the body.
- Apparently, arthritis prevention can be achieved effectively by spending some time undertaking some yoga exercises rather than taking medications only.
You Might Also Like:
- Apple Cider Vinegar for Arthritis Pain: How to Use?
- How To Take Cherry Juice For Arthritis
- Fish Oil for Arthritis: Does it Really Work?
- Ginger for Arthritis: Does It Work?
- How to Use Turmeric for Arthritis Pain?
- Top 10 Foods to Help Beat Rheumatoid Arthritis Inflammation
- Fat Burning Yoga Poses
- 7 Best Creams For Sciatica Pain
