Important: This article is for informational purposes only. Please read our full disclaimer for more details.
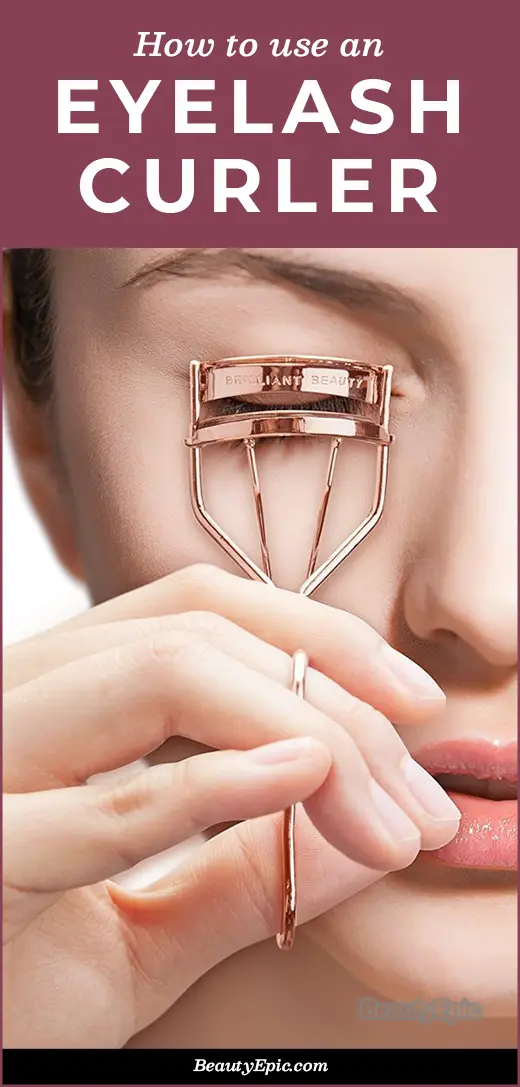
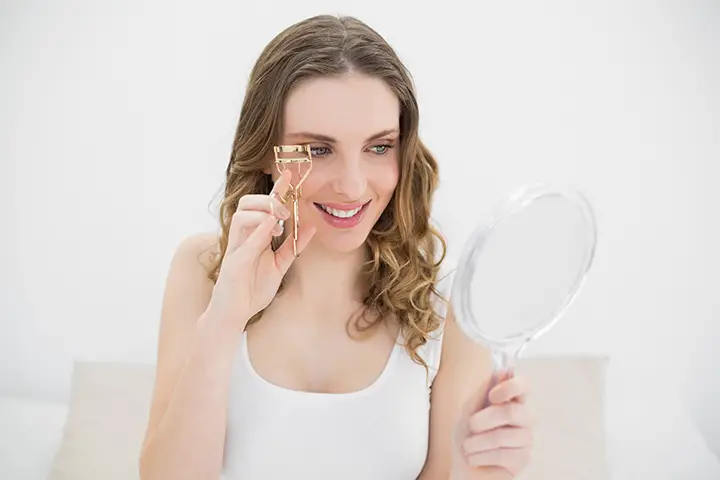
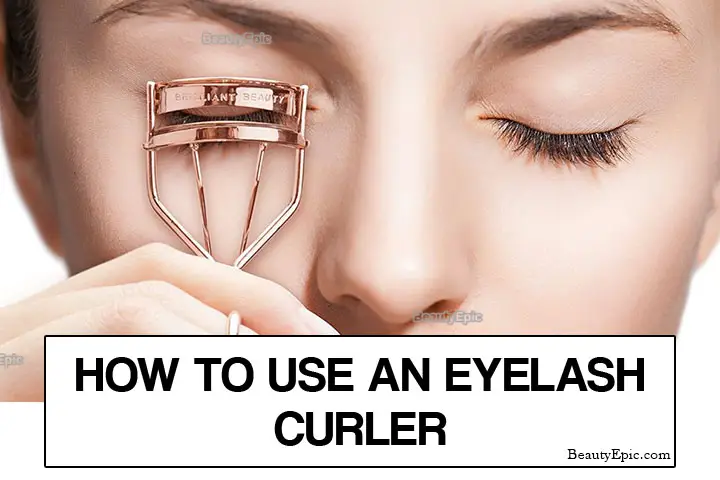
An eyelash curler comes in handy to accentuate your eyelashes naturally or to help enhance any makeup you wish to apply to your eyes. Here we discuss the different steps to take, from choosing the right eyelash curler to applying the same and creating different effects.
Choice of an Eyelash Curler
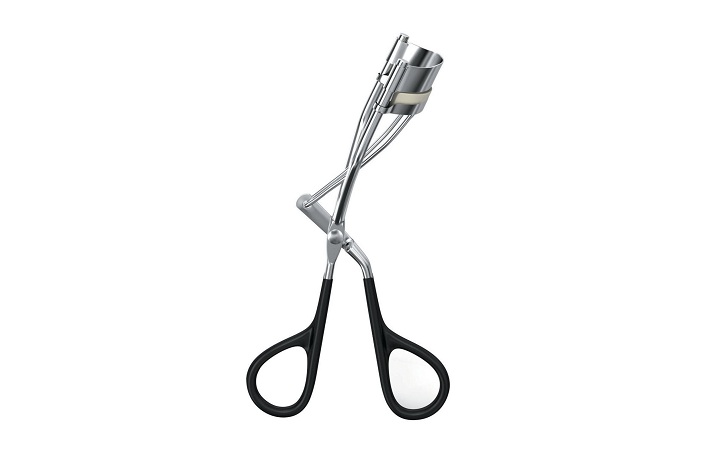
When you are choosing an eyelash curler, there are some points to keep in mind. For instance, a metal curler is preferred than a plastic one. Usually, a metal curler comes with rubber pads on clamps. This helps to get a good grip on the eyelashes. Before you begin to use it, ensure that it is clean.
[ Read: How To Tweeze Your Eyebrows Perfectly ]
How to Use the Eyelash Curler on the Eye?
- If you have not used an eyelash curler, remember that holding it to your eye will feel cold at first. Some recommend using a heated curler, but that can be too harsh on the sensitive skin around eyes or eyelids.
- It is also known that a heated curler does not have many benefits over a cold curler.
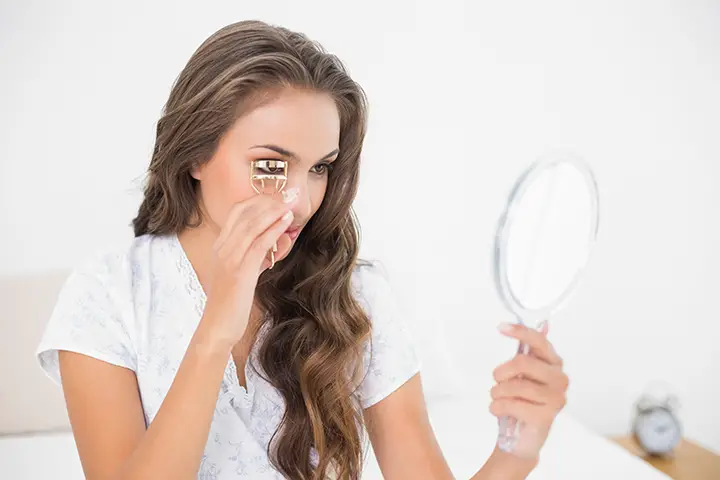
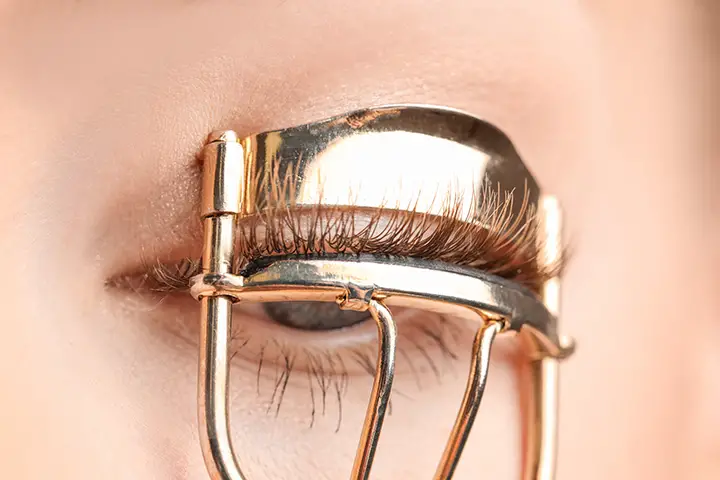
- Open the clamps and put in the lashes in between to get as much of eyelashes between clamps and reach to the base of the eyelashes.
- However, avoid touching the skin since you can pinch yourself.If you have numerous eyelashes, it is best to use the curler in sections for more visible results.
- Close the clamp, hold down on eyelashes for 3 seconds; do not squeeze clamp shut and take care that the clamp does not squeeze the skin. Make sure the clamp gets to the base so that the lashes are curled well.
- If you are using the curler in sections, divide the eyelashes into three sections; hold the clamp-down in each section for 3 seconds. To finish curl up lashes at the tips to add the final effect.
- It is important to clean eyelashes before using the curler. The curler also needs to be clean. Ensure that old makeup on the eyes is completely removed before using the curler.
Create a Natural Look
- Start with a freshly washed face and eyes. Use the curler in the method mentioned above. When using it from the base and in three sections on each eye, the lashes take on a fuller and thicker look. The look is thicker and fuller without makeup.
- You need to do your eye makeup first before using the curler. But, make sure that you stop the makeup before applying the mascara. Use curlers and then apply mascara.
[ Read: How Effective is Vaseline on Eyelashes ]
Create a Dewy Finish
- Start by cleaning out eyelashes and eyelid of any makeup debris or dead skin. Take Vaseline on fingertips and apply on the lashes; you can also apply using a Q-tip brush
- Place Vaseline between forefinger and thumb and apply till ends of lashes.
- Use curler as directed above; the ideal would be to use it in three sections on each eye. End result is thicker and longer lashes.
[ Read: How to Remove False Eyelashes ]
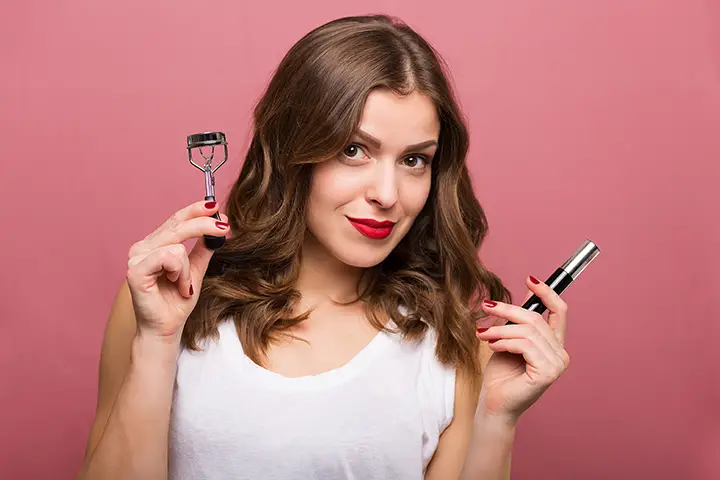
Apply Mascara with an Eyelash Curler
- Take a mascara product and apply it on the lashes; start from the base and swipe up to the ends of the eyelashes.
- Apply on bottom lashes similarly and prevent mascara from coming on the skin.
- After you allow the mascara to dry, curl eyelashes using the curler as directed above. Use baby powder to coat in between the lashes.
[ Read: How To Apply Mascara Perfectly ]
Use of Glittery Mascara with Curler
- Curl the eyelashes with the help of a curler. Start from the base and curl up in three sections, by the edges, and in the middle. Apply mascara coat and ensure it covers the lashes and then let it dry.
- Take glitter mascara and apply it towards the edges. if you are looking to enhance the look of your eyes, then you can go in for two glittery coat applications.
The above methods showcase the different ways you can use an eyelash curler to enhance the appearance of your eyes.
You Might Also Like:
- How To Apply Eyeshadow Like A Pro
- How to Apply Eye Shadow by Eye Shape?
- How to Apply Cream Eyeshadow?
- How to Apply Liquid Eyeshadow – The Ultimate Guide
- How to Apply Eyeliner Like a Pro – Step By Step Guide
- How to Apply Liquid Eyeliner for Beginners
- How to Fill in Eyebrows?
- How to Fill in Eyebrows With a Pencil for Beginners
- How To Use Eyebrow Stencils Like a Pro!
- How To Curl Your Eyelashes With A Spoon?
- How To Clean Out A Mascara Tube?
- How to Remove Waterproof Mascara Without Losing Eyelashes
- How to Apply False Eyelashes: Step-by-Step Guide
- How To Keep Eye Liner From Smudging
- Eyelash Extensions: Everything You Need To Know About in 15 Steps
- How To Make Your Eyelashes Grow Longer(Thicker)
- How To Remove Eyelash Extensions?
- How To Trim False Eyelashes?
- How To Make Lash Extensions Last Longer
- Natural Oils for Eyelashes Growth
- 10 Mistakes Need to Avoid While Using Eyelash Curler
