Important: This article is for informational purposes only. Please read our full disclaimer for more details.
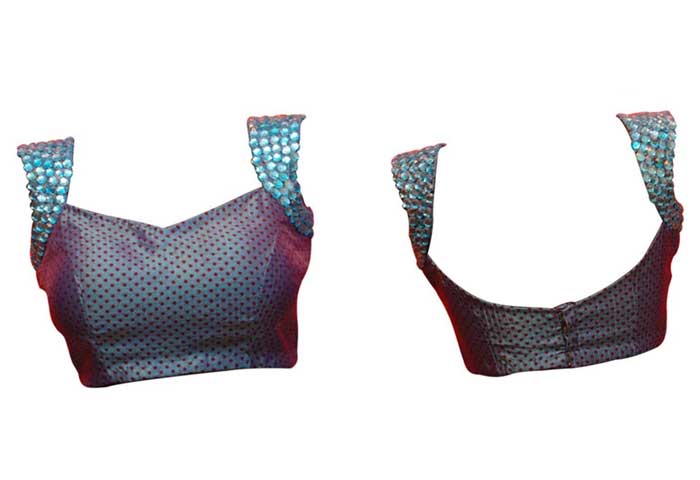
We always want to copy the style this even true of course while when it comes to style perfectly then must follow the latest fashion exactly. There are varieties of styles available for women yes; women outfits are lots more and available in different designs now that you need to decide what you want to wear. It is no worry to think about your style just only goes with traditional dresses where you find the blouses that are awesomely available in your wardrobe. Why choose sarees with blouses? Is there any special? Obviously sarees with blouses are very traditional designed dresses that provide princess look to you. There are several designs of blouses that are available in princess cut blouse designs which are presented in raglan style. Here we explain in detail how to stitch princess cut blouse design in step by step tutorial have a look!
Measurements for Princess Cut Blouse Design
Length = 14 ½”
Chest = 36”
Shoulder = 14”
Waist = 30”
Sleeve length = 9”
Round Arm = 13”
Edifice
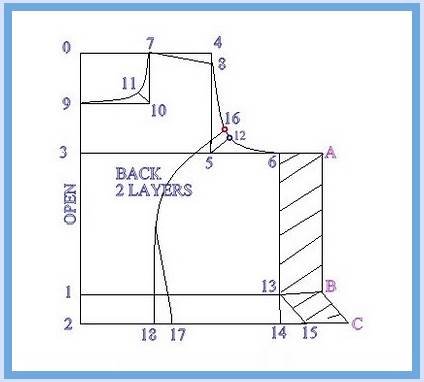
1. Princess Cut Blouse Back Design
- (1-13) = ¼ waist + ½”
- (13-14) = 1 ½” or (1-2)
- (14-15) = ½”
- (16) = center of (8-6)
- (17) = center of (14-2)
- (17-18) = ½”
- (6-A),(13-B) & (15-C) = 1 ½”(for seam)
For Sleeveless Princess Cut Blouse Design:
(0-3) = 1/6 chest
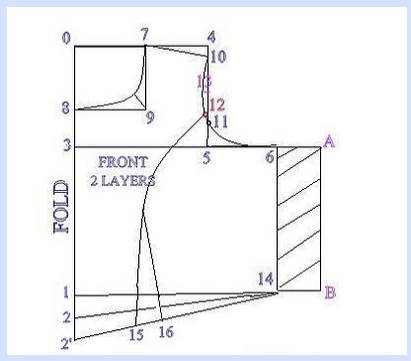
2. Front Shape of a Princess Cut Blouse Design
- (0-1) = Length + ½”
- (1-2) = 1 ½”
- (2-2′) = 1 1/2″ (in turn 1” and ½ “ for seam)
- (0-3) = 1/6 chest + 1 ½”
- (0-4) = ½ shoulder + ½”
- (4-5) = straight line
- (3-6) = ¼ chest + ¾” (for tight fitting – 1/4 ch+1/4″ (or) 1/2″
- (7-4) = 4” or 1/12 chest + 1”
- (4-10) = ½” down
- (8-3) = 1”
- (7-9-8) = front neck curve
- (11-5) = 1”
- (13) = ½”
- (1-14) = ¼ waist + ½”
- (2-15) = 1/12 chest + 1”
- (15-16) = 3/4”
- ( 12 ) = centre of (10-6)
- (6-A) & (14-B) = 1 ½” for seam
3. For Sleeveless Sample Take This Measurement
(0-3) = 1/6 chest
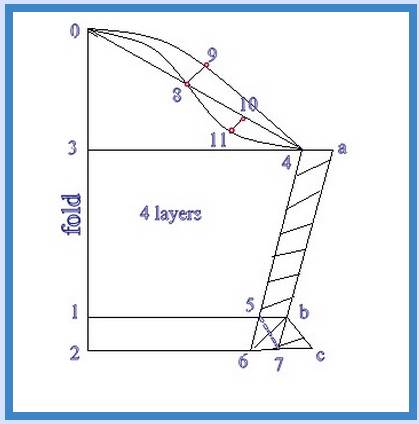
For Sleeves:
- (0-1) = length + ½”
- (1-2) = 1 ½”
- (0-3) = 1/12 chest + 1”
- (3-4) = 1/6 chest + ¾ “
- (1-5) = ½ Round Arm
- (6-7) = ½”
- (8) = centre of (0-4)
- (8-9) = ¾”
- (10) = centre of (8-4)
- (10-11) = ¾”
- (4-a), (5-b) & (7-c) = 1 ½” (for seam)
From 6 to 13 is a slanting line. (3-6)= 1/4 chest + 3/4″
(1-13) = (3-6) minus 1/2″ (or) take waist round then, calculate 1/4 waist + 1/2″
Do it Yourself Tips
To stitch your princess cut blouse from your hands then you need to follow few simple steps of blouse tutorial that are perfect guidelines help you how to design princess cut blouses actually.
An exact measurements for princess cut blouse design- should be with Length: 14.5”, Chest: 36”, Shoulder: 14”, Waist: 30”, Sleeve length: 9”, Round arm: 13”
- To stitch heading from the collar: You need to select the flit saree blouse designs and always choose the raglan style to sew the princess cut and your first DIY option needs to opt for the flit saree blouse designs.
- Second option you need to make a drawing of your blouse design on paper. Mark the front and back designs on paper and remember the dart raglan style designs.
- It is most vital that you form the closure and cut off all dart and waist lines to create the right design.
4.
- As you finish with the front part so, it will take much time to create the back portion. You can easily have to cut off the extra dart segments and separate the two parts.
- As you done it take the finishing outline of the back bodice on another paper and add the seam allowance at the dart line that can simply make the princess line.
- Next outline the neckline, blot the pockmark to join and cut the scraps properly.
- Come to the front bodice, here you just need to close all the darts without the waist line dart.
- If you properly followed the steps above so, comes to next about a three dimensional height. Simply you will be aware with the stitching part, the way you associated and cut off the darts is precisely known as dart management.
- Next you have to draw the sketches because the darts are now planned into a closure line, even, you need to achieve your princess line.
- Draw the collar and add the closure allowance to the ending part of princess seam. Lastly give final touch shape the collar.
- You need to mark the notch to join and cut the crumb. This is known as pattern cutting.
- Finally the last front and back design will be left by you. For getting this you need to cut out the patterns and left with ending princess seam blouse.
The princess blouse designs are not too hard to design while it is quite easy just you need to obtain the accurate stitching process only.
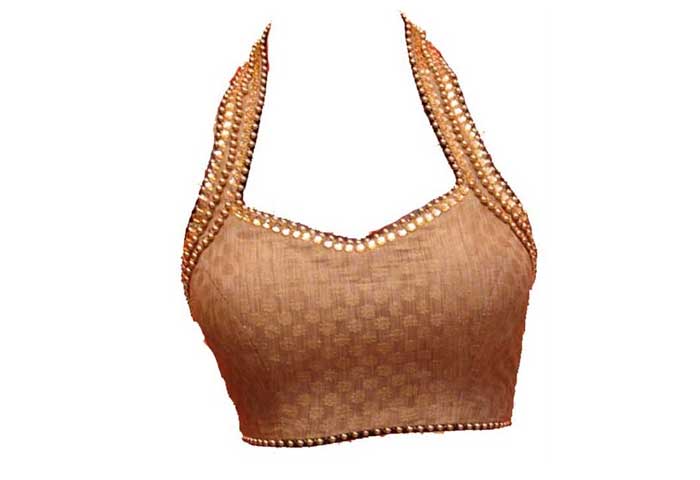
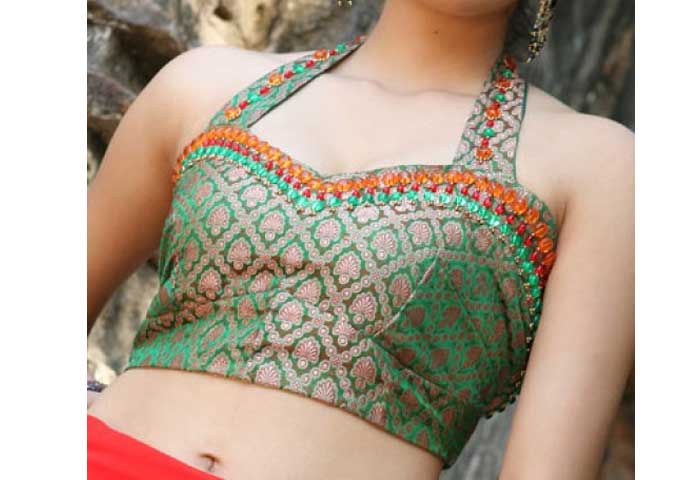
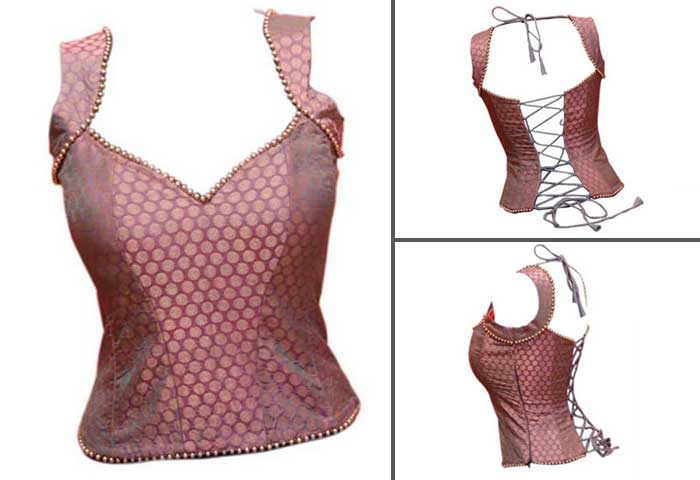
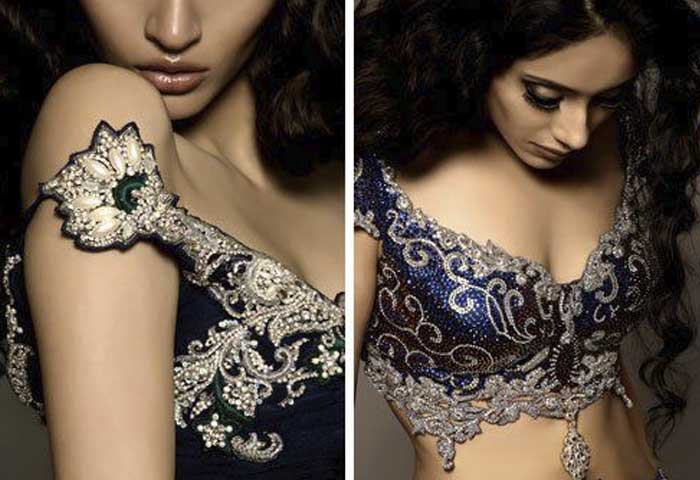
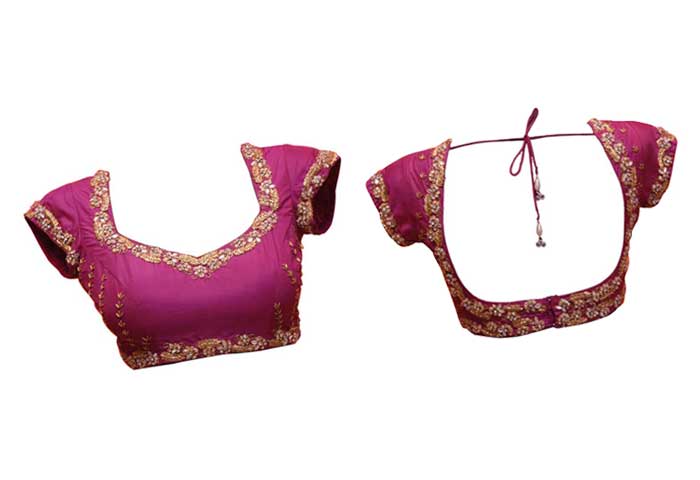
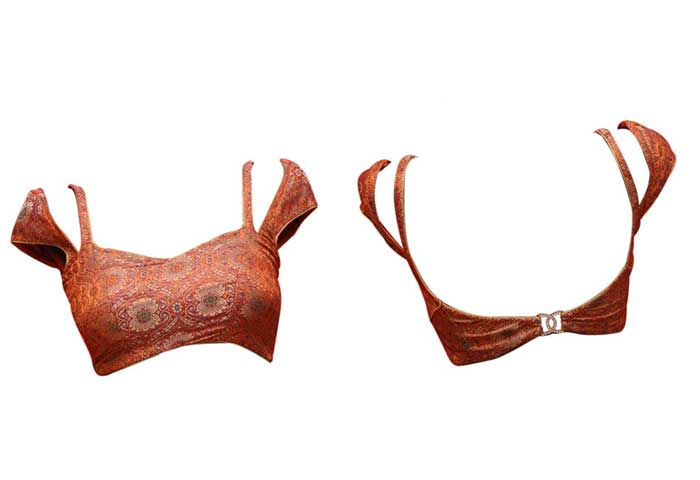
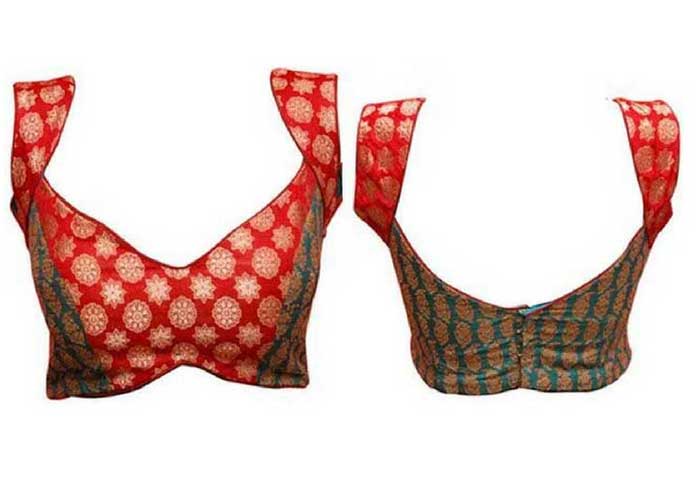
5. More Princess Cut Designed Blouses
6.
7.
8.
9.
10.
You Might Also Like:
- 25 Latest Sexy And Sultry Blouse Designs For Silk Sarees
- 25 Trendy Backless Blouse Designs For Sensual Appeal
- 4o Latest Blouse Back Neck Design For Stylish Women
- Latest Blouse Designs Catalogue For Net Sarees
- 21 Beautiful Pics of Princess Cut Blouse Design
- 25 Collar Neck Blouses
- 25 Simple Backless Blouse Design Ideas
- 20 Modern Cotton Saree Back Neck Blouse Design
- 20 Awesome Pics of Saree for Farewell Party
Image Credit: 1,2,3,4,5,6,7,8,9,10
