Important: This article is for informational purposes only. Please read our full disclaimer for more details.
Dreads also referred to as dreadlocks, are collections of hair that have been gathered either accidentally due to carelessness or purposefully using a hair matting technique. Bob Marley and afro-hairstyle culture are synonymous with Rastafarian culture, which was popularised worldwide by Bob Marley. Dreadlocks are not just associated with them; Greek, Aztec, and Buddhist cultures have also been known to wear them.
There are primarily two ways to get dreads: naturally, which involves leaving the hair unwashed and uncombed to allow the locks to grow naturally. The process of hair matting will take time, even though it is a laborious method and can take a long time to achieve the desired look. In addition to these, there are other approaches you can use. Let’s go over a few techniques for getting dreadlocks:
Few Quick Ways To Get The Dreads
Backcombing Method
The first step is to wash your hair to get rid of all dirt and impurities. A few inches above your nape, clip the portion of your hair that has been horizontally parted and start backcombing. Work your way up to your scalp, starting an inch below your roots. Work a small amount of dread wax between your fingers as you twist your dreadlocks. The goal is to smooth down and bind together all of the unbound hair strands. From the root to the ends, roll this waxed-up dreadlock between your palms until it is nice and taut. Dreadlock maintenance and growth are both reliant on palm rolling. You shouldn’t try to grow your dreadlocks in an even, pre-planned pattern. This will make your scalp look exposed. Spread your hair out in a staggered pattern to completely cover your scalp. Repetition is required.
Dread Braiding Method
The braiding technique is another typical and well-liked approach. The first step is to wash your hair to get rid of all dirt and impurities. Blow-dry your hair thoroughly from roots to ends to achieve the desired volume. You can section off all of your hair by picking up 1-inch by 1-inch sections at a time and tying them up with rubber bands at the roots. All of the individual hair sections should be braided and fastened with rubber bands at the ends. Select one braid, apply wax to it, and roll it between your palms until it takes the shape of a dreadlock. On each braid, repeat this step.
Twist And Rip Method
The twist-and-rip technique is one of the most common techniques. Section off all of your hair into individual, 1-inch by 1-inch sections, and secure them with rubber bands. Rub all of your hair in one direction—either clockwise or counter clockwise—while using a residue-free shampoo. Let your hair air dry naturally until it is completely dry. Each individual hair section should be torn apart, treated with dread wax, and rolled between your palms to create a dreadlock. Around a month after creating your dreadlocks, when your hair has had a chance to truly lock and bind together, you can remove the rubber bands from your dreadlocks.
How To Maintain The Dreads?
Let’s talk about maintenance now that we know how to get dreadlocks. The common perception is that dreads require a lot of maintenance, and this is the only thing that keeps people away. Let me dispel that myth, though: It won’t be tiring or expensive; it will cost a little, but not too much that you can’t afford. So here are some guidelines for keeping dreads in good condition:
Tip 1: Thicker Locks With Reduced Hair Tension: The hair tension is directly proportionate to dreadlocks’ strength and durability. So, make sure to keep your hair loose and the hair tension during the pull and twist less.
Tip 2: Allow For Hair Growth: Dreads cannot develop without hair growth. Every hair you lose ends up in your locks, which is a drawback to having locks. For hair to shed and fall into your locks, thickening them, you must be growing new hair. Your hair won’t grow if the blood flow to your scalp is cut off, and your locks won’t change in appearance.
Tip 3: Break From Styling Your Hair: Your locks may actually become fragile and weak if you apply too much tension to your scalp. Your locks could become weaker in some places. Overall, your locks will just be fragile and very thin. That is not what you want. Don’t style too much when you’re first starting out. It’s important. To lay the groundwork for your locks, start at the beginning.
Tip 4: Retwist Less For Thickness: Longer intervals between retwists are a result of thicker locks. Your hair is more susceptible to breaking off the more you twist it. You’re also twisting your hair into tiny, tightly packed sections. Your hair will eventually begin to thin out if you do that far too frequently. Therefore, once a month is the general rule for re-twisting. To ensure that locks are thick, don’t retwist hair before that month has passed.
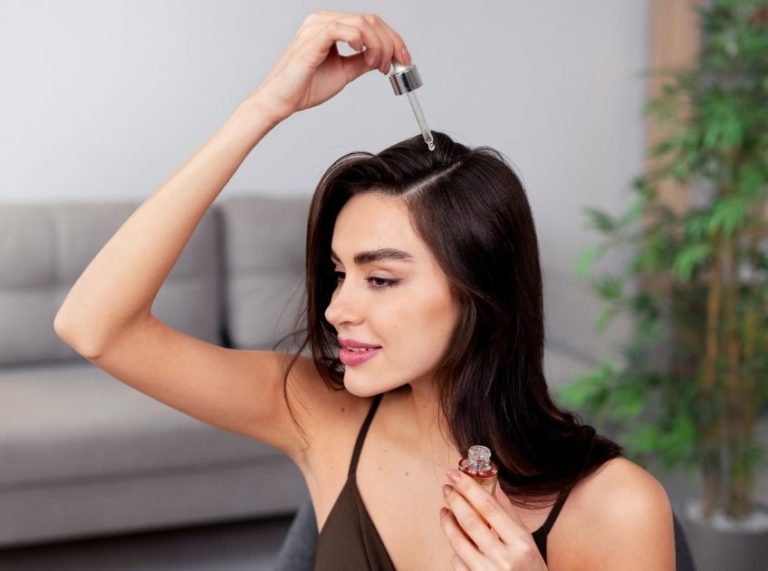
Tip 5: Moisturize Your Scalp And Stimulate Flow In Your Hair: The secret is to maintain healthy hair by moisturizing it every day, sealing it with natural oil, and protecting it at night. Additionally, you must regularly moisturize and stimulate your scalp using methods like loc brushing. You want to make sure that moisturizes your locks properly because it will greatly aid in preventing breakage and thinning.
Tip 6: Use Satin Scarf: Do not dry out your locks in bed without a scarf! Use a satin scarf to cover your locks at night to prevent dryness, lint build-up, and tension from sleeping on them.
Tip 7: Hydration Is The Key: Once in a while, giving your hair hot oil treatment with your preferred essential oils is a good choice for moisturizing it. Moisturized and hydrated locks will be less likely to become frail and underweight.
Conclusion
Now you see maintaining dreads is not hard as long as you have the will to keep it. We know it is tedious and tiring but every amazing result comes from hard labor. So, work your way through and you might have the desired dreads. Just need to put in the effort and voila! You can get amazing results.
You Might Also Like:
- Best Oil For Dreadlocks
- Which Hairstyles Suit You Very Well On All Occasions Dread Or Braid
- How To Care For And Maintain Your Dreadlocks
- How To Crochet Dreads
- Have You Heard Of Dread And Locs Hairstyle
- How To Bleach Dreads
- 27 Inspiring Medium Length Haircuts for Thick Hair
- 7 Best Moisturizers For Sisterlocks
- 7 Best Mousse For Crochet Hair
- 7 Best Sponges For Hair
