Important: This article is for informational purposes only. Please read our full disclaimer for more details.
A wedding is an important day in the life of a bride. She would like to look at her best on that day. wedding day. If you are one among them, then this article will be of great help.
The following are the tips Many women love to save some money on their wedding by trying out their own makeup for the that you need to follow to make sure that your makeup looks like it is done by a professional. You need to understand that it would take a lot of time and patience from your end to get the makeup right for the D-day.
Own Wedding Makeup
1. Give Importance to Skincare
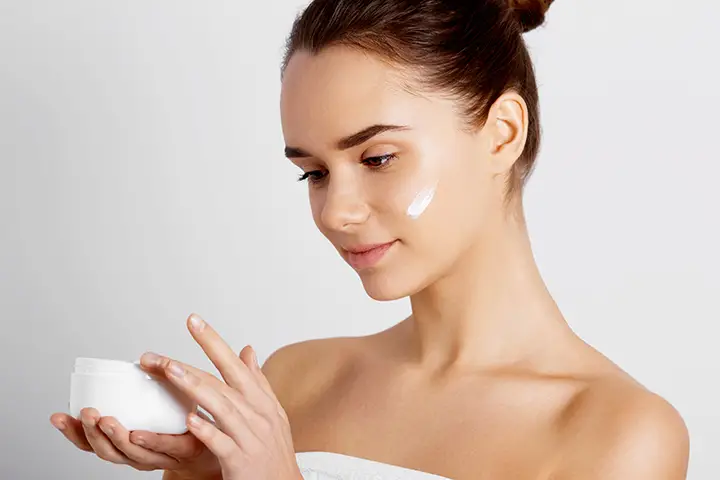
- You are looking for the makeup to last on your wedding day, then start early with skincare a few months before the wedding day.
- The things you will need for skin care are good quality day and night cream, and hydrating mask.
- To get the face ready for the wedding makeup, you must start the preparation well in advance so that you face is ready to take the wedding makeup.
[ Read: Best Waterproof Makeup for Your Wedding ]
- Start to apply day and night creams on your face and neck areas well in advance of the wedding date.
- Apply a generous amount of the day cream at least two times a day. The night cream must be applied every night before hitting the bed.
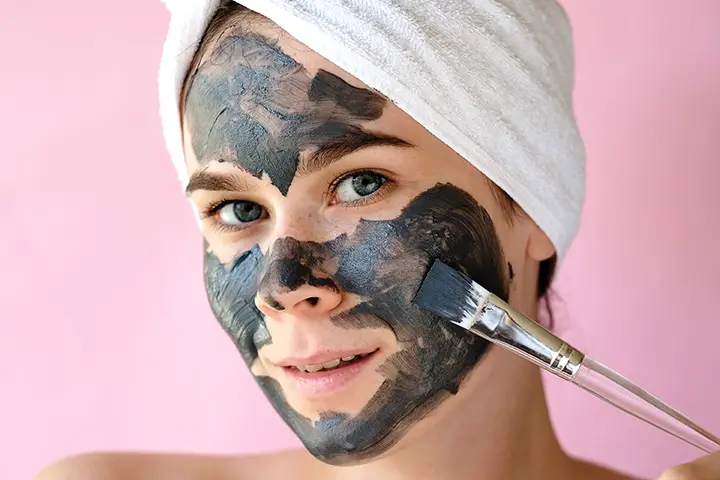
- Using a hydrating mask once a week is also important to make your face look fresh.
- Just place the mask on your face so that it covers the entire face and leave it there for 10 to 15 minutes. Later, you can peel it off and pat dry your face.
2. Monthly Facials
- Perfect skin is an ideal canvas for doing makeup. You need to do facials on your face to get it ready for the wedding day makeup.
- You need to invest in the best cleanser, exfoliator, and face mask.Cleansing is the first thing to do to remove the excess oil and dirt on your face.
- Use a cleanser that suits your skin type. Take a pea-sized quantity of the cleanser and rub it into your skin in an upward motion. Wash it off with cold water after some time.
- Exfoliate the skin to remove dead cells for your face. Choose an exfoliator that suits your skin type.
- Take a coin-sized amount of this cream and rub it gently all over your face in an upward motion. Leave for 2 minutes and then wash it with cool water.
- Steaming will open up the skin pores and also release the toxins. Boil water and pour it in a wide-mouthed pot.
- Use a towel over your head to create a tent and draw your face towards the pot’s opening. Allow the steam to hit on your face. Do this for 3 to 5 minutes.
- Apply any DIY face mask or the one you bought from the store and make sure that it covers your face fully.
- Allow mask to rest for 5 to 10 minutes or until it gets dry. Remove the mask or splash cool water to remove the homemade mask.
[ Read: How to Clean Your Face at Home ]
3. Primer Usage
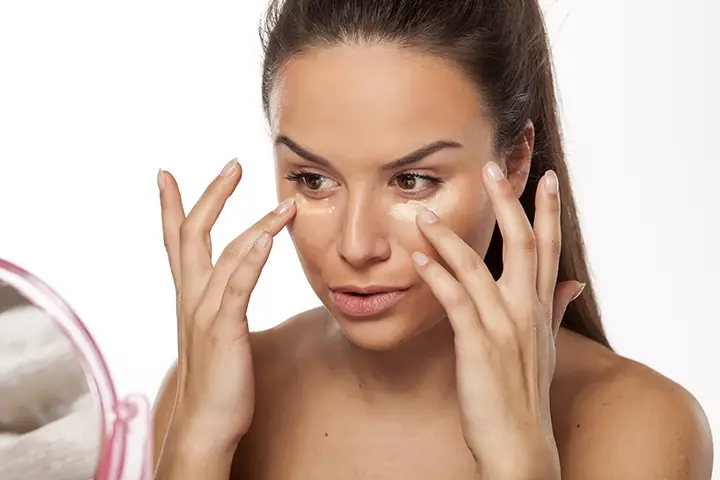
- After you have done a facial on the wedding day, apply a suitable moisturizer on the face. Now, it is time to apply the primer as it can do the work of a corrector to fill the big skin pores and offers smooth lines.
- Make sure you use a pea-sized amount that is enough to cover your face and neck. Place the primer on the center of the face and blend it upwards in circular motions.
- You can move up to your hairline and neck and ensure that it forms a smooth finish.
- Allow the primer applied on your face to dry off naturally. It might take a few minutes.
- You need to use a different eye primer on your eyelids than what you have used on your face.
[ Read: How to Apply Makeup Primer ]
4. Applying Foundation
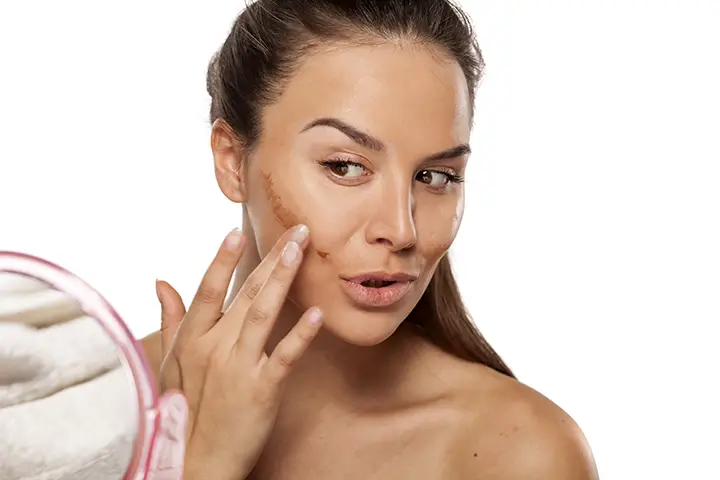
- Choose a foundation that will naturally blend with your skin color. It is better to use powder foundation than the liquid ones as it will not make your face look greasy.
- Use the brush to take the required quantity of the foundation and apply it at the center of the face. Blend it outwards.
- Use a damp makeup sponge and keep on dabbing the sponge over the face to allow the foundation to get into your skin. Ensure your entire face and necks are covered.
[ Read: How To Apply Foundation]
Define the Eyebrow
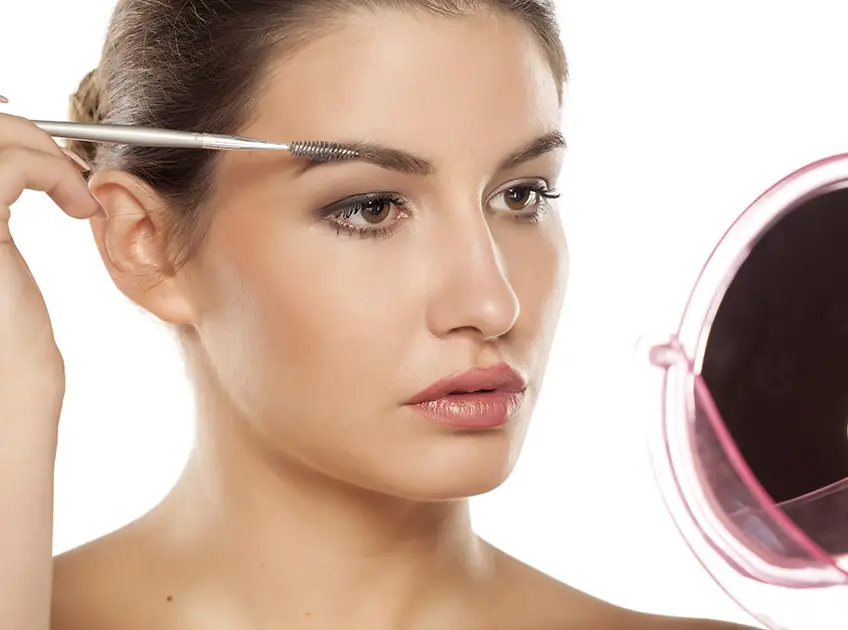
- Not everyone is born with perfect eyebrows. You can use the best eyebrow pencils, highlighters, and brushes to give shape to the brows.
- Use a brow comb to brush the eyebrows in the direction of its growth. Use the sharp eyebrow pencil that matches your brow color. Use the pencil on the brow from the inner corners to the arch at the center.
- Move to the outer edges and try to elongate the outer area with gentle strokes. Work on it gently and ensure that your brows look fuller. You can apply clear brow gel to ensure that the brows are in the perfect place.
[ Read: How To Shape Your Eyebrows Perfectly ]
Now, it is time to work on the eyelashes. You can use smudge-proof and waterproof mascara that stays in the place for the full event, even if you drop a tear or two.
When you are working on the lips, you can first condition it with a lip balm before applying lipstick. It is a good option to draw the outer lip boundary using a lip liner. Move on to the lipstick and use it at the center of the lips and then move towards the outer edges. Press both lips together for the lipstick to set. Now, you are ready to walk the aisle and get married.
You Might Also Like:
- How to Clean Your Face at Home – Best Tips & Tricks
- How to Apply Highlighter Makeup Correctly?
- How to Apply Makeup to a Round Face
- 7 Best Moisturizers For Before Makeup
- Makeup For Teens – Simple Tips & Tricks to Apply Makeup Perfectly
- How To Do Bridal Makeup Step By Step – Tutorial
- How to Do Your Makeup for Evening
- How To Do Your Own Prom Makeup Like A Pro
- How to Apply Makeup for Photos
- How to Make Your Makeup Last All Day?
- How to Cover a Bruise with Makeup?
- How To Apply Foundation Correctly – A Step By Step Guide
- How to Apply Makeup for Dark Skin
- How to Remove Makeup Without Makeup Remover?
- What Should You Do Before Applying Makeup?
- 5 Best Similar Makeup Forever HD Foundation Products
- Can You Wear Makeup After Spray Tan? How Much Time To Wait
