Important: This article is for informational purposes only. Please read our full disclaimer for more details.
When speaking about hairstyles and trends, crimped hair is definitely the surprise of all! It is a major beauty trend from the 80s and 90s, at that time you cannot see pop stars and celebrities without crimp.
After that, its popularity started to decrease, but it has made a big comeback in 2020.
We are speaking about crimp, but do you know what exactly crimped hair is? Crimped hair is made using a crimping tool to create a wavy texture as well as a zig-zag style.
Is Flat Iron Can Help To Crimp The Hair?
If you are expecting a new look, then you are in right place, crimping hair is an interesting task to do. Do you like to crimp your hair but don’t have a crimper? don’t worry, you will find a better solution here.
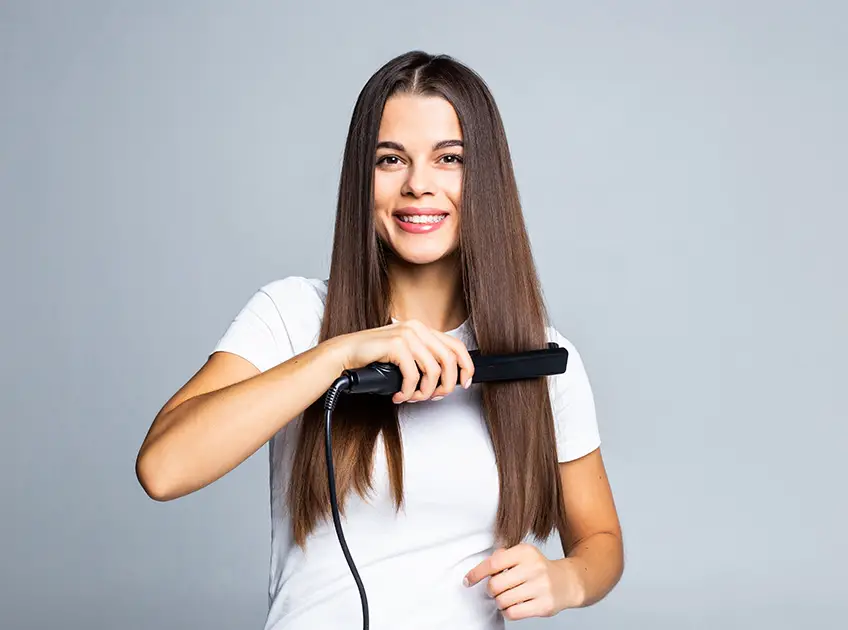
A great thing is, a flat iron can assist you to crimp your hair very easily. This article will guide you to know about some methods for different types of hair.
Certain Tips To Crimp The Hair With A Flat Iron
Here comes the guidance for doing a perfect crimp.
Tight crimp with braids
1. Have A Start With Straight And Clean Conditioned Hair
Prior to using a flat iron, shampooing and conditioning hair is highly important. Otherwise, your hair can change very harder after using a flat iron. You should do deep conditioning once a week as it will make the hair moisturized.
Let the hair dry after the cleaning process has been over. If your hair is curly, it is well and good to straighten it.
2. Divide The Hair Into Sections
Take some hair above the ears and put a loose bun, but make sure the lower layers are free. In this lower layer, separate the hair into six sections.
Whether you want to have a very tight crimp, then make smaller sections that can help you to get a tight crimp.
3. Braid The Parted Section Tightly
Start to make tight and smaller braids from the root of the hair. You may don’t like a high volume of hair, if it is the case go ahead for less volume by starting halfway down the hair.
It is very essential to spray heat protectants all over the braids because heat from flat iron will damage the hair.
[ Read: 7 Best Heat Protectants For Natural Hair ]
4. Use Flat Iron Over The Braids
From the root of the hair, press down the flat iron over the braids for at least 10 seconds. Then do this for the next segment of hair, likewise, finish all the braids.
Depending on your hair type the flat iron running process may vary, you can do it one time or two times.
5. Braids Need To Cool Down
After finishing the lower layer braids, wait for the hair to get cool down. Meanwhile, you can start undoing braids from the upper layer.
6. Release The Bun And Do The Same Process
Release the bun and make braids with the hair. Make sure that you are taking the same amount of sections similar to the lower layer.
Repeat the heat protectant spraying after the flat iron has been used. Don’t brush the hair suddenly, just softly run your fingers through the hair.
If you wish the crimps to stay long, then apply hairspray all over the hair after adjusting the hair.
Using Twist For Crimp
1. Have A Start With Dry, Clean, And Tangle-free Hair
Wash your hair before using a flat iron and need to use a conditioner too. Conditioner assists to get moisturized hair.
Allow the hair to dry and then brush your hair to get no tangled tresses. Then apply lightweight styling mousse so that the hair can hold crimp.
[ Read: How To Use Mousse To Curl Hair ]
2. Separate Hair Into A Sections
Divide the hair into horizontal sections for tighter crimp. You can make a loose bun in the upper part of the hair and do the work in the bottom hair.
In case the sections are too wide or cannot be twisted tightly, then you will get a wave in place of crimps. So ensure to make a small section, it will give tighter crimps.
If the hair is very silky, then keep more hair or try to twist it tightly as much you can.
3. Twist The Hair
Twist all sections into a tight rope. At the time of twisting, keep the section away from the face.
Do enough tight on your twist so that it will form a rope but don’t do too much then it will change into the curl. After twisting, you have to tie up in the end.
4. Run The Flat Iron On Your Rope
After twisting the section, put heat protectant spray all over the section. It will assist the hair stay moisturized and also give protection from damage.
Don’t let the hair rope go loose, hold it tightly, then run the flat iron over the rope. For each portion, press down the flat iron for a second.
Wait until the rope gets cool and release the rope.
5. Avoid Brushing And Put Hairspray
If you finished your crimping process on your hair, use your finger to loosen the hair. Don’t brush it suddenly which will make the hair go frizzy.
And also you must use some spray all over the hair. This thing will help the crimp to stay tight and long.
Bottom line
Crimping hair may look quite difficult, but we have given you detailed procedures to make this very simple. Hope you will enjoy the crimping style a lot.
You Might Also Like:
- 7 Best Flat Irons For Black Hair
- Choosing the Right Wig Hairstyle for Different Events
- How to Use Lemon Juice for Facial Hair Removal
Image Credit: freepik


