Important: This article is for informational purposes only. Please read our full disclaimer for more details.
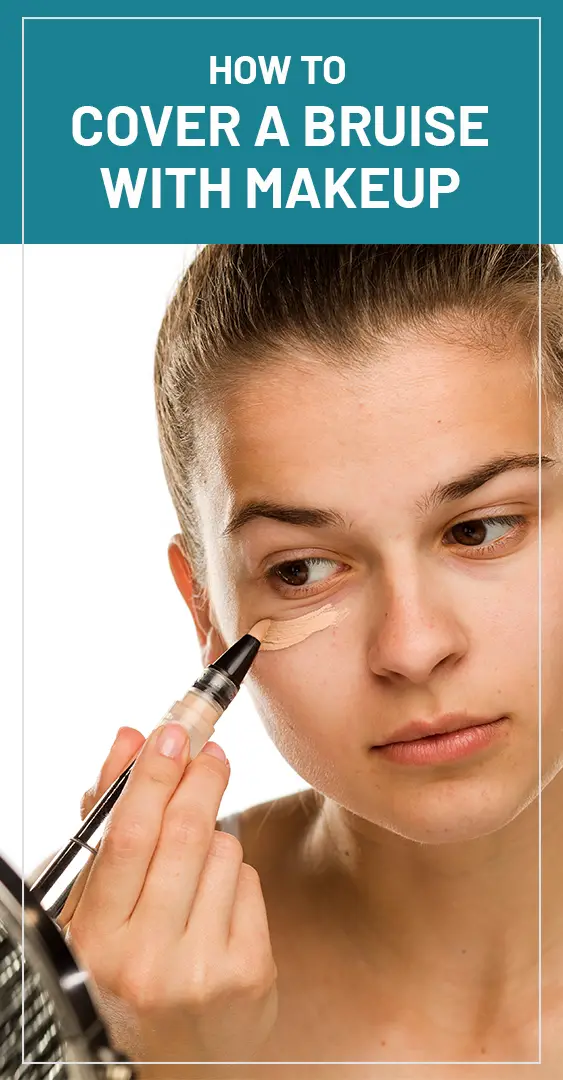
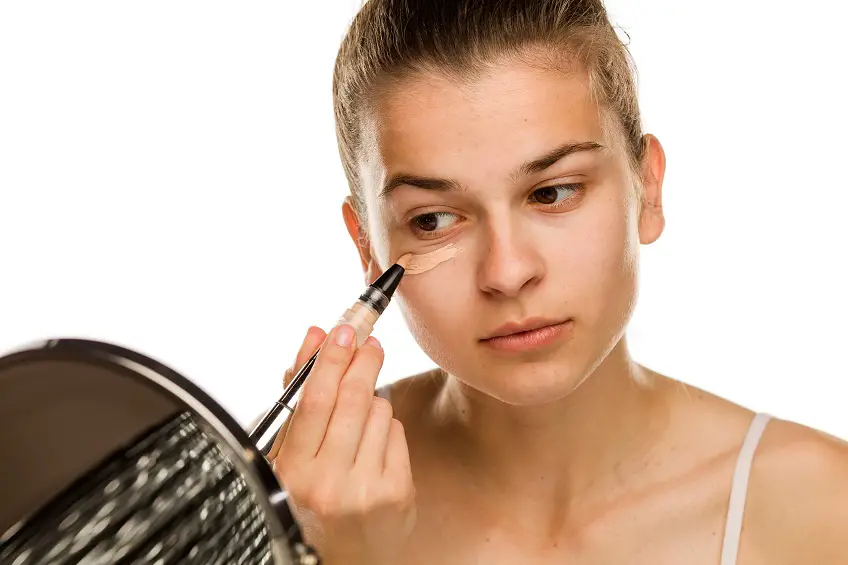
Bruises can ruin your otherwise flawless appearance. Fortunately, there are a few makeover tricks that can hide them effectively for a few hours.
How to Reduce a Bruise
- Before covering up a bruise, you should administer measures to reduce the intensity of the damage caused. Here are a few home remedies that can help.
- Apply an ice pack to the bruised area. This would reduce the redness and discoloration caused by the injury.
- Keep the area elevated if there is swelling. This would reduce fluid retention and also alleviate pain and discomfort.
- Apply a pure Aloe Vera gel to the bruised area 2 to 3 times a day. This would speed up the healing process.
- Apply serums containing Vitamin C and Vitamin K. Both these vitamins are essential in promoting wound healing and skin restoration.
[ Read: Makeup For Beginners ]
- Drink plenty of water to naturally promote quick healing. This would also reduce swelling and keep the skin moist.
- Eat a nutrient-rich diet and add fruits like pineapples, cherries, apples, blackberries, and lemons to your daily food regimen.
- Apply a heating pad if the bruise is painful. Alternatively, you can wash the bruised area in warm water to get relief from pain and discomfort.
- Avoid exposure to sunlight. Excessive heat can further irritate the bruised skin.
[ Read: Makeup For Teens ]
Cosmetics and Tools Required for Covering up a Bruise
Before you make any attempts to cover up your bruise, make sure that you have all the essential supplies required for the process. Here is a list of products you would need.
Concealers
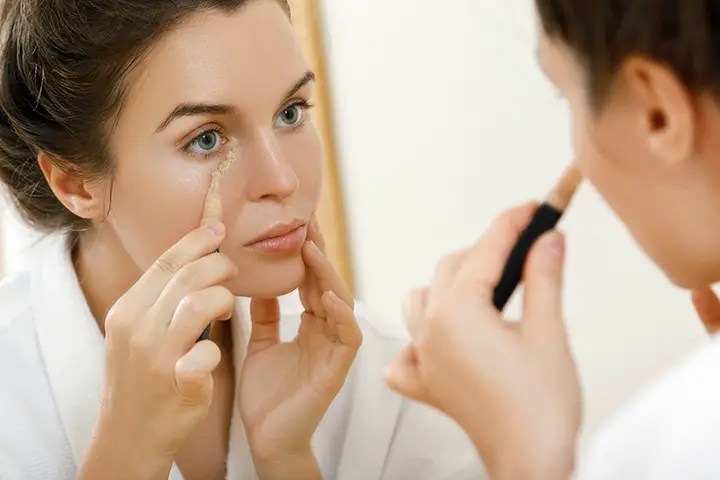
- Concealers are essential for hiding marks and spots. Some of the concealer varieties you might require are as listed.
- A green concealer with a matte finish for hiding reddish bruises.
- A full-coverage concealer that matches your skin tone.
- An under-eye concealer for black eye bruises.
[ Read: How to Apply Concealer The Right Way ]
Foundation Primer
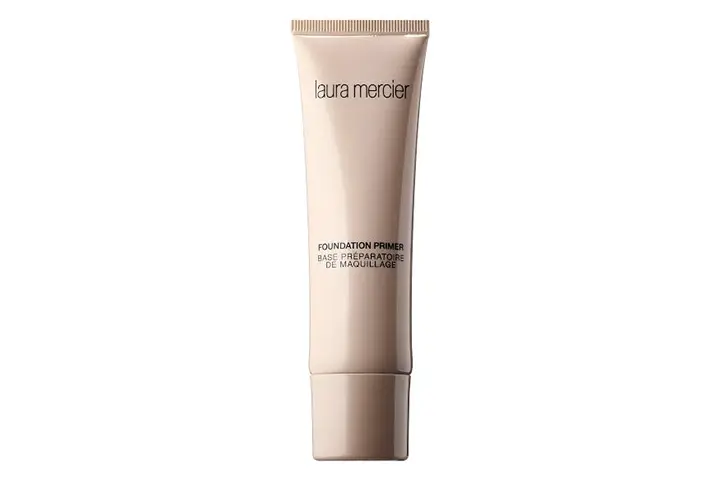
- Primers can help the skin to retain the concealers and color correctors more efficiently. For covering up bruises you might require,
- An eye primer for a black eye bruises.
- A green color-correcting primer for red bruises.
- An orange primer for blackish bruises.
- While buying primers look for products that contain a good amount of Vitamin E.
BB Cream
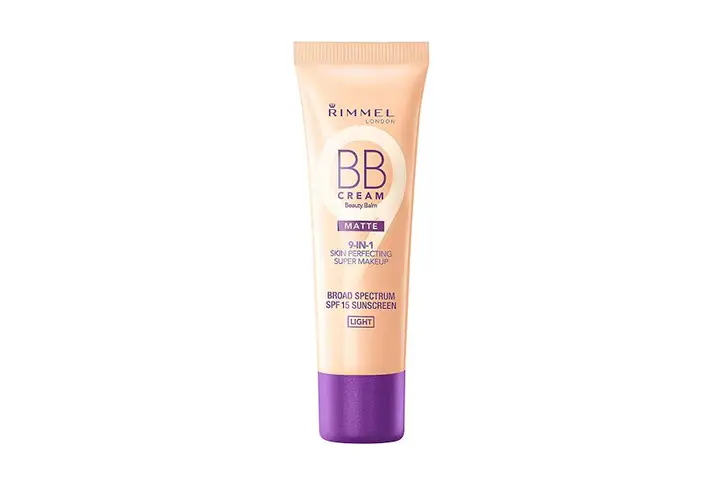
A BB cream can be used to cover up light bruises that have been partially concealed with a primer.
Full Coverage Foundation
You would need a full coverage foundation to securely hold the color-correcting concealers for a longer time.
[ Read: How To Apply Foundation Correctly ]
Red Lipstick
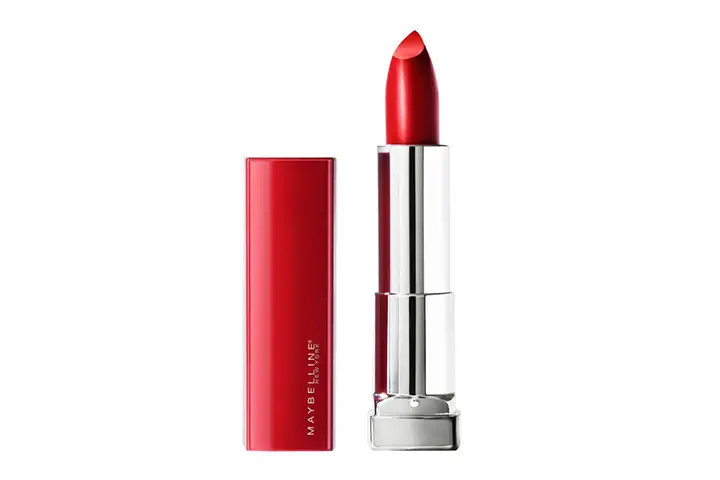
A matte red lipstick can work wonders when it comes to bruises that are very dark.
Translucent Powder
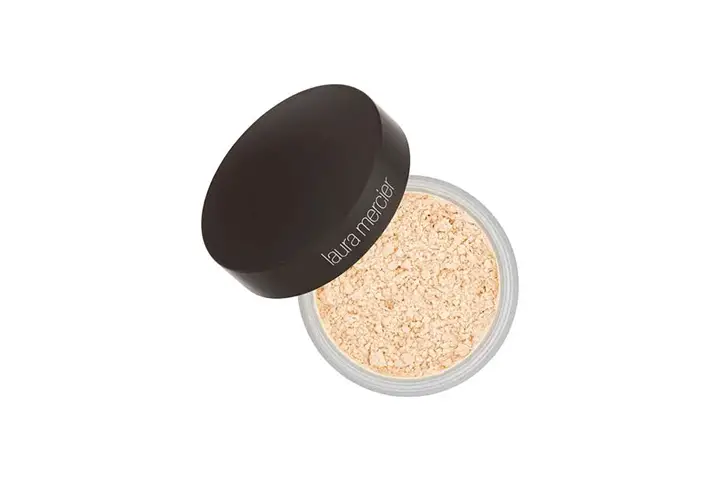
You would need a waterproof translucent setting powder for securing your makeup.
Brushes
You would need a couple of blending brushes for applying and blending concealers and foundations without making your skin look cakey.
Foundation Sponges
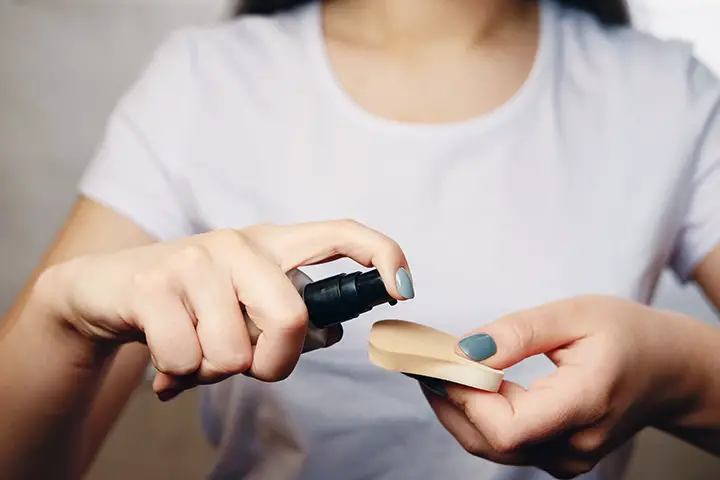
Foundation sponges are very useful when you want a light makeup. The sponge feels soft against the bruised skin and it absorbs the excess foundation more easily.
[ Read: How to Clean a Beauty Blender ]
How to Cover a Red Bruise
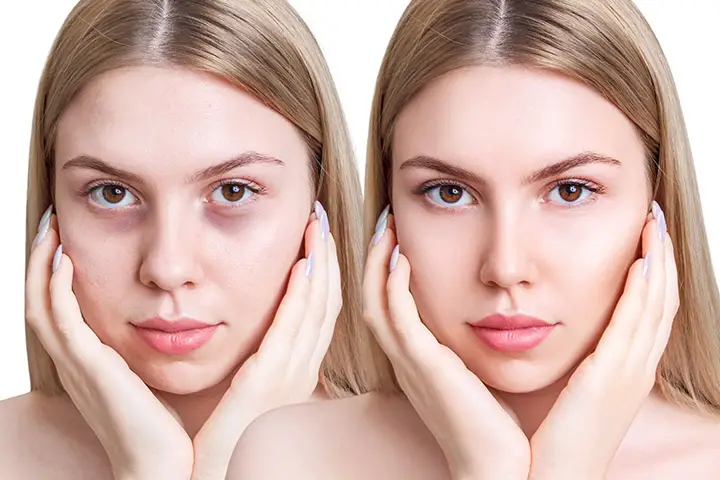
- A freshly bruised skin is usually red in color and requires a special set of products to have it covered up. Follow the steps given below to expertly conceal your reddish bruise.
- Apply a green-tinted primer on the bruised skin. Wait for a few minutes to let the skin soak up the primer.
- This tinted primer can lighten the color of the bruise. You can add to the effect by applying a small amount of green concealer.
- Blend the green concealer onto your bruised skin using your index finger or a blending brush. For better control, you can use your fingertips.
[ Read: How to Make Your Face Look Thinner ]
- Now apply a layer of foundation primer followed by a full coverage foundation over the bruised skin and surrounding areas.
- For applying foundation, use a thick-bristle brush or a sponge.
- Finally, use the translucent setting powder to give a finishing touch. Use a finishing brush to apply the powder evenly.
- In the above procedure, if you want a lighter makeup, you can use a BB cream over the primer and then apply a full-coverage foundation instead of applying concealer.
How to Cover a Dark Bruise
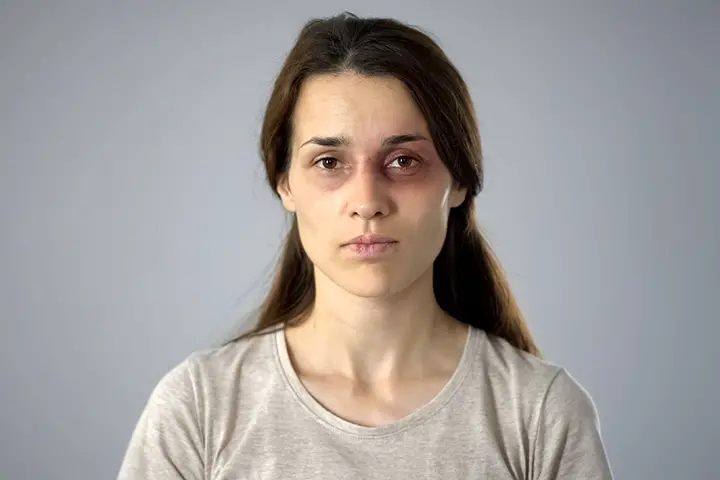
- Once you have assembled all the essential products you can start working your way to a well-concealed bruise. Listed below are the steps to be followed to get this done.
- Prep the bruised skin by gently cleaning it with a soft towel soaked in warm water. Let the area dry in the open air as this would make the skin softer.
- Apply a thin layer of primer on your bruised skin and surrounding areas. If the bruise is on your face you can apply the primer on your entire face.
- Now use the matte red lipstick on areas that are too dark. Apply only a small amount of lipstick using your fingertip and blend it gently.
- While applying lipstick make sure that the color doesn’t spill over to the surrounding healthy skin.
- Now you can use a full coverage concealer that matches your skin tone to cover the bruised area. Apply it evenly with a small brush or with your fingertip.
[ Read: How to Hide Wrinkles with Makeup ]
- Blend the concealer with the lipstick using a blending brush. Use gentle outward strokes to spread the concealer evenly.
- Wait for a few minutes for the concealer to settle down and then apply a thin coat of foundation on the entire face or the bruised area and its surroundings.
- Finally, set the makeup using a translucent powder.
By following the tips and tricks mentioned above, you can conceal your bruised skin like a professional makeup artist.
You Might Also Like:
- How To Do Your Own Prom Makeup Like A Pro
- 5 Best Makeup Tips for Olive Skin Tone
- How to Apply Makeup for Dark Skin
- How To Get Rid Of Bruises With Toothpaste
- How To Cover A Mole With Makeup
- Makeup for Rosacea – 5 Best Makeup Tips to Cover Rosacea
- What Should You Do Before Applying Makeup?
- Makeup Tips For Girls With Freckles
- How to Look Younger with Makeup?
- How to Do Your Own Wedding Makeup
- Makeup Tips for Tanned Skin – A Complete Guide
- How to Do Your Makeup for Evening
- 7 Best Makeup Removers For Acne-prone Skin
- How to Apply Makeup for Photos
- 8 Best Makeup Tips For Square-Shaped Faces
