Important: This article is for informational purposes only. Please read our full disclaimer for more details.
Clean skin is paramount to one’s beauty. Sometimes, dirt and dust can be transferred to faces if inadequate makeup tools are used in the process. A good instance of this is, dirty beauty blenders. Having a dirty beauty blender can be discouraging. It can seem an impossible task to remove all that resin off its surface and clogged pores. Dirty beauty blenders can carry disease, and cause acne breakout if used on the face without proper cleansing. However there are simple hacks to get your dirty beauty blender as clean as new.
[ Read: How to Use Beauty Blender ]
How to Clean a Beauty Blender
Following are some great instructions on how to clean a dirty beauty blender, quickly and conveniently.
Method 1: Using Ready Made Blender Cleansing Products
Cosmetics have gone a long way to manufacture the perfect beauty blender cleaning products. These products are great for everyday use. They provide long lasting cleans to all types of beauty blenders.
Features of Blender Cleansing Products
- Advanced molecular formulas in their dispositions increase the fiber strength and longevity of your makeup sponge.
- Come with different fragrances
- They come equipped with antibacterial properties that thoroughly eradicate germs and bacteria from the deep clogged pores of the beauty blender.
- A few drops of blender cleanser are sufficient to cleanse multiple sponges simultaneously.
- Composed of organic substances like coconut oil and sustainable plant oil
- Toxic free and do not pose health risks.
[ Read: How To Apply Foundation ]
Listed below are the world’s best blender cleanser brands on offer. They come with different features, and can be purchased online.
- INSTACLEAN
- LIQUID BLENDERCLEANSER
- KEEP.IT.CLEAN
- TWO.BB.CLEAN
How to Use Blender Cleanser Fluid to Clean a Beauty Blender
What you need:
- A dirty beauty blender
- A bowl of warm water
- A bottle of blender cleanser
How to Clean a Beauty Blender Step by Step
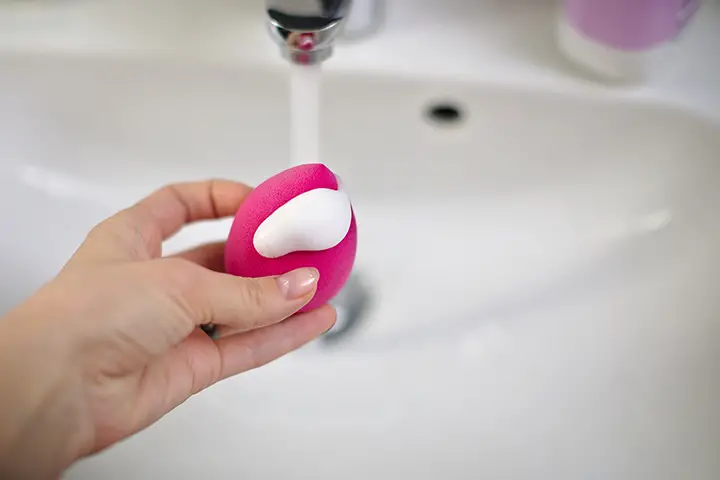
Step- 1: Apply a few drops of blender cleanser liquid onto the dirty parts of the makeup sponge.
Step – 2: Thoroughly rub the lather into the sponge until it is completely soaked in cleaning fluid.
[ Read: How to Apply Eyeshadow ]
Step – 3: Now immerse it in warm water for a few minutes.
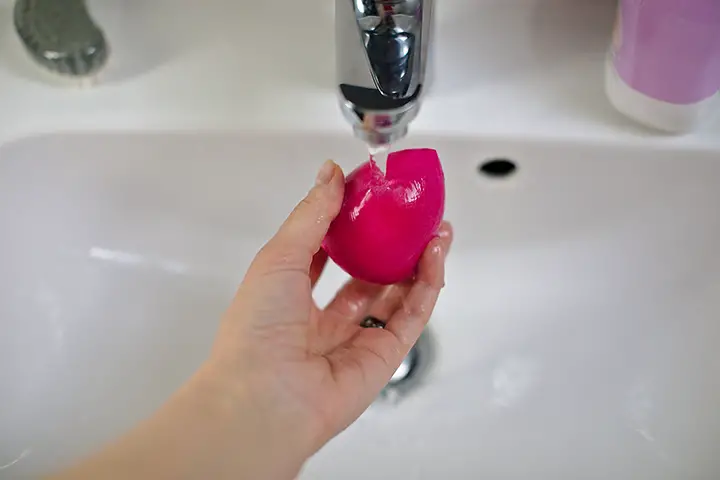
Step – 4: Under running water, start wringing the lather out of it.
Step – 5: Keep repeating steps 1-4 until your sponge in entirely residue free.
Step – 6: You are guaranteed a completely clean beauty blender within a few cycles.
Step – 7: Rinse the sponge under running water to rid it of lather. Voila, you now have a sparkling beauty blender as good as new!
[ Read: How to Apply Concealer ]
Disadvantages of Using Blender Cleanser
However, there are minor disadvantages of using blender cleanser. The most common one is that they can get clogged up after a period of disuse. This makes them difficult to use. If you don’t believe ready-made blender cleansing products are for you, other great options for cleaning fluids include;
- Vinegar: The acidic properties of this substance are great for deep cleansing and bacteria eradication
- Dish washer: Products like Dawn Dish washing fluid have shown good results
- Shampoo: A foaming lather that gently eradicates residue from clogged pores
- Soapy water: Simple but guaranteed to impress
[ Read: How to Contour Your Face ]
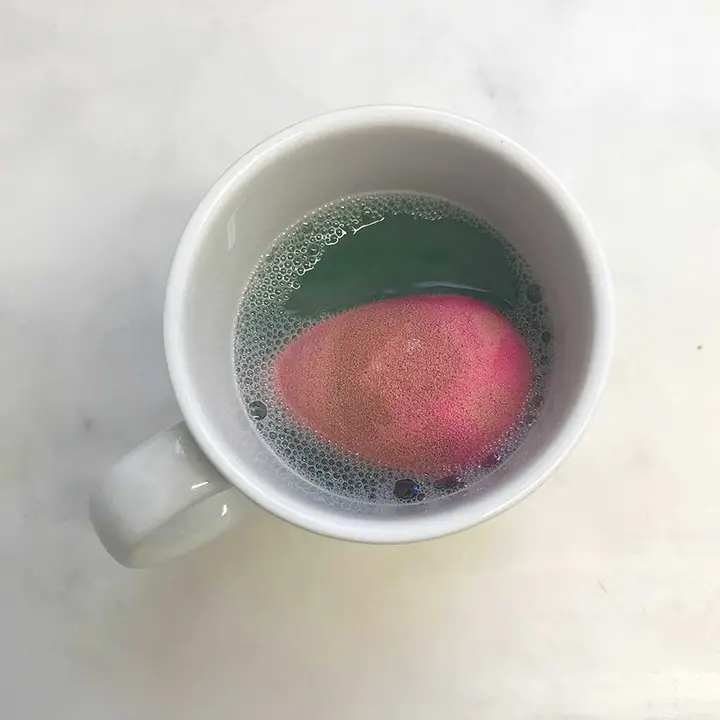
Method 2: Clean Beauty Blenders in the Microwave
The microwave technique takes the cleaning fluid treatment a step further. Not only does it provide a dirt free beauty blender, but also removes bacteria clogged in its pores. This has the added advantage of eradicating fungal build up that could lead to skin diseases, like acne outbreaks.
What you need:
- A microwave
- A dirty beauty blender
- A jug of soapy water
How to clean it:
- Using soap and water create a rinse and pack your beauty blender in it.
- Allow it to soak up the water for five minutes.
- Turn up the microwave heat so that it is sufficiently warm but not too hot.
- Insert the jug containing the wet blender, into the microwave.
- Allow it to heat for half an hour
[ Read: How to Apply Mascara ]
Below is a picture of a beauty blender before and after the microwave treatment has been applied.
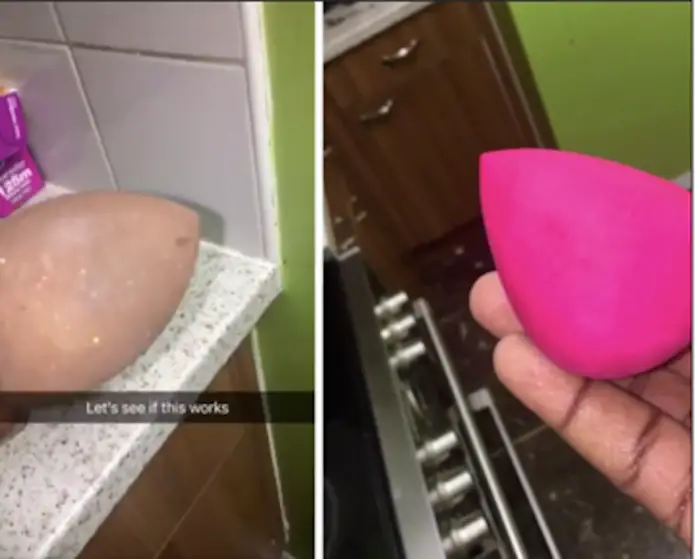
Observe how the dirt and makeup have been almost 100% removed, leaving the blender as clean and beautiful as before. This is a traditional trick of cleaning sponges, and works beautifully for beauty blenders too. Beauty and makeup is all about having smooth flawless skin. Having a clean, germ free beauty blender goes a long way towards achieving this goal. Whether you use the traditional to achieve this, or the time tested advances in cosmetics, these tips and tricks are sure to ensure both you and your beauty blender remain spotless!
You Might Also Like:
- How To Apply Bronzer – Best Bronzer Tips and Tricks
- How to Do Your Makeup for Evening
- 5 Best Makeup Tips for Olive Skin Tone
- 8 Best Makeup Tips For Square-Shaped Faces
- Makeup Tips for Tanned Skin – A Complete Guide
Image:- Shutterstock
