Important: This article is for informational purposes only. Please read our full disclaimer for more details.
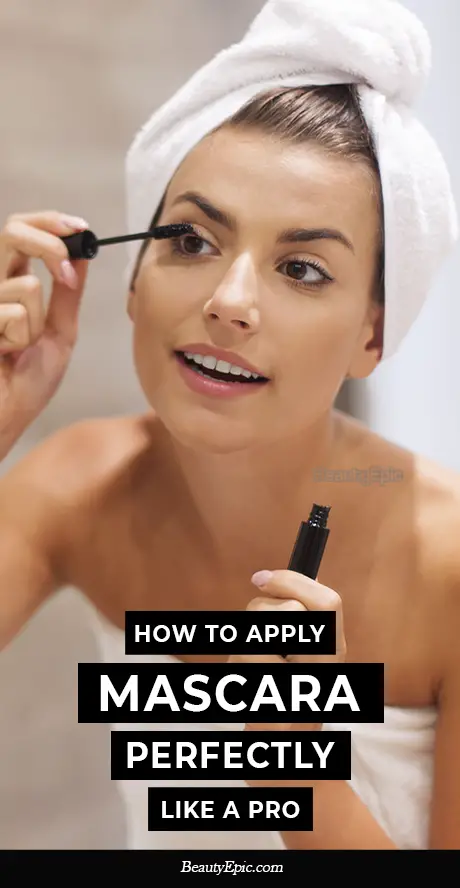
Learning to get that killer mascara look on point will be a process and not many enjoy the labor to it. Especially so, when they desire longer eyelashes like the fashion trendsetter Kim Kardashian or Mila Kunis’s thick and gorgeous lashes. All this and more can be achieved when you know how to apply mascara, and with the right procedures, you too can get a step closer to the ideal eyelashes we all love and want.
Requirements:
- Mascara
- Lash curler
- Mirror
- Tissue/Q-tip
Article Contains
What To Consider When Choosing Mascara
1. Decide On The Look You Want To Achieve
- For full lashes that you want to increase in length, look for a lengthening mascara. A long brush with even bristles is a great tool for this type of mascara.
- Panthenol and Phyto-keratin based mascara helps in rebuilding damaged lashes that are uneven in length. Ensure to use a thick brush when applying this type of mascara.
- If you have short lashes and want to grow them out, select a lengthening mascara with thick bristles and a shorter brush handle. Its narrow length will help reach in further and help you coat every lash with ease.
- For special events like a pool party, select a waterproof mascara. This will help prevent causing dry, brittle lashes when submerged in water.
[ Read: How to Apply Eyeshadow ]
2. The Different Shades of Mascara
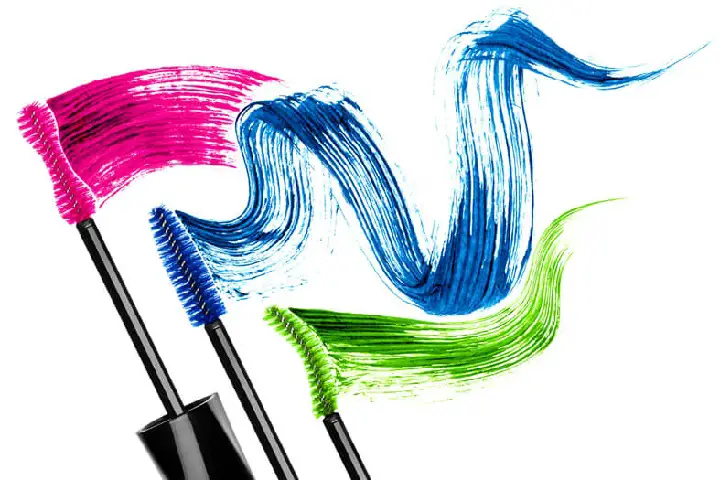
The black shade is the most common hue you’d find everywhere. The benefit of black is that it gives out an illusion of length and thickness, making your lashes appear fuller than usual. A brown shade mascara goes well with blonde, reddish lashes. Ensure to experiment with the different color variations and select one that stands out to you the most.
Tips on How To Apply Mascara
Now before we get into the details on how to apply mascara, make sure to apply any other makeup beforehand. Other none eye related makeup such as concealer, blush and foundation can be applied after mascara.
1. Preparing The Lashes
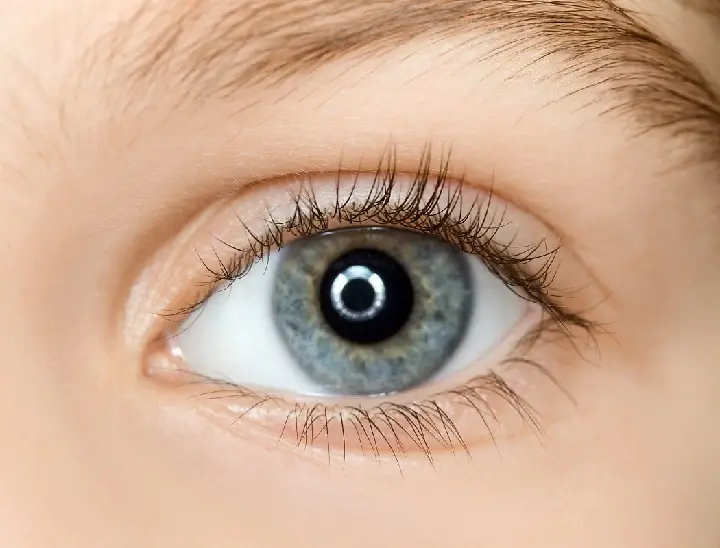
- You would want to start off by curling your lashes with either the curler or your fingertips. investing in a curler will reduce the time you spend curling your lashes as well as make them well curled and groomed.
[ Read: How to Apply Concealer ]
2. Removing The Wand From The Tube
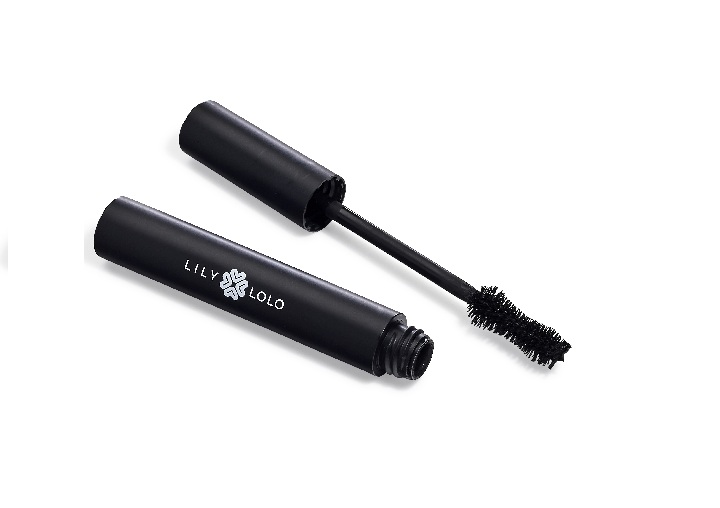
- When it comes to removing the wand, ensure to twist back and forth as you pull. The twisting causes the mascara brush to pick up mascara from around the edges. By pumping the brush, you force air bubbles into the mascara pot which eventually dries it up.
3. Wipe Excess Mascara With Tissue or Top
- Then again, you wouldn’t want to use too much/lumpy mascara. wiping off any excess will leave you with the right amount to apply.
4. Face Up
- As you begin to apply mascara, you want to position your head in correct alignment. Simply face up and look straight from your peripheral vision onto your reflect in the mirror in front. By doing this, you get a clear perception of your lashes, making it easier to reach.
5. Begin At The Base Of Your Outer Lashes
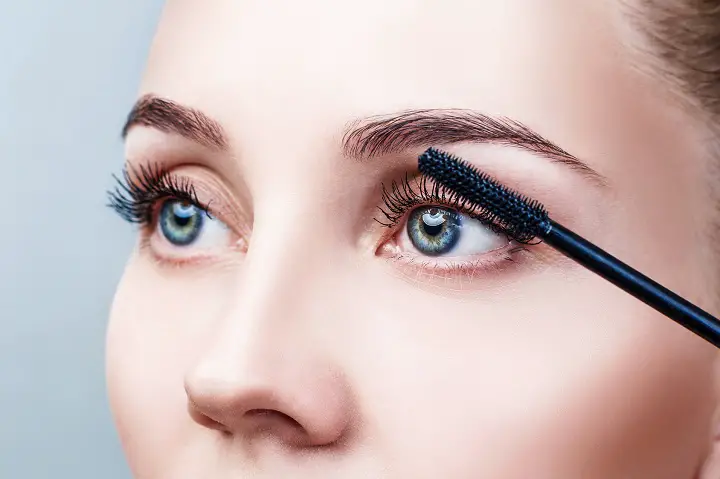
- Place the mascara wand at the base and wiggle. Your aim is to apply the product evenly and firmly into the roots. This will help curl the lashes as well as prevent them from getting weighed down.
[ Read: How To Apply Foundation ]
6. Pull The Wand Upwards And Out
- As you pull the wand outwards, move it in a zigzag manner. This technique prevents any clumps from being formed and creates a well defined curled lash.
7. Apply The Second Coating
- Redip and apply another coating to layer up against the first coat. A second and even a third well-paired coating is advised. You want the mascara to hold on well and firm.
8. Ensure To Target The Lashes At The Outer And Inner Parts Of The Eye Lid
- It’s quite easy to leave these parts unchecked. We recommend going through both the inner and outer parts of the eyelids with a single or double layer up of mascara. Bending the burhs at a 45-degree angle helps to reach in better.
9. Put Mascara To The Lower Lashes Too
- A makeup sponge can help absorb any mascara without it getting on your skin. Put the mascara only on the roots and brushing against the length of the lower lashes straight, lifting the brush up as you approach the tips. This formulates a natural stoke while spreading the mascara around leaving no lumps.
10. Apply The Mascara On The Lower Lashes
- If you have a small wand, you can use it to apply the mascara evenly and accurately across the base of the lower lashes.
Extra Tips:
- Remove any mascara mistakes with a cotton swab or q-tip
- Use a clean mascara wand when de-clumping any lumps
- Baby powder can be used as a lash thickener. It gives the mascara more surface area to cling on to.
- Ensure to Remove your mascara every night before bed with makeup remover. This will prevent your lashes from being brittle in the morning.
Depending on your desired look, efficiently utilizing and balancing the amount of mascara applied can effectually create a dramatic change in the way you look. Do not be afraid to apply more than one coatings, and as you become better at how to apply mascara, eventually it will come naturally. Lumps can be a problem in the makeup process of applying mascara but with time and dedication, it will be a thing of the past.
Best Mascaras
| Top Picks | Check Price |
|---|---|
| Best False Lash Dupe:Milk Makeup High Volume Mascara | Buy on Amazon |
| Best Smudge-free:It Cosmetics Volumizing Mascara | Buy on Amazon |
| Best Lengthening:Tarte Tarte Tartelette Tubing Mascara | Buy on Amazon |
| Best Volumizing:Covergirl Lash Blast Mascara | Buy on Amazon |
| Best Drugstore:Covergirl Exhibitionist Uncensored Mascara | Buy on Amazon |
You Might Also Like:
- How to Remove Waterproof Mascara Without Losing Eyelashes
- 10 Best Mascara For Short Lashes
- 10 Best Mascara For Thin Lashes
- 5 Best Similar Mascara Products
- Is It Bad To Sleep With Mascara On?
- Can You Wear Mascara With A Lash Lift
- Essence Volume Booster Lash Primer Mascara Review
- Maybelline Lash Sensational Washable Mascara Review
- How To Make Small Eyes Look Bigger With Makeup
- How Long Does Mascara Last Unopened?
- Brown Mascara Vs Black Mascara – Which is Better?
- How To Clean Out A Mascara Tube?
- What To Do If Mascara Dries-Up?
- 8 The Best Mascaras For Oily Lids
- 7 Best Waterproof Mascaras For Sensitive Eyes
