Important: This article is for informational purposes only. Please read our full disclaimer for more details.
You may be confident of your makeup in front of your mirror, but do you look great in the photos too? Your look captured by the camera will depend on different factors like the time when the picture is taken, the brightness or darkness of the area, or whether the picture was taken with the flash on or not, etc.
Does Applying Makeup Make Photos Amazing
If you are looking for an amazing photograph, you need to know how to apply makeup. The lens of a camera sees the objects differently and hence your regular makeup may not be sufficient.
[ Read: How to Look Younger with Makeup ]
1. First, do the Basic Fix
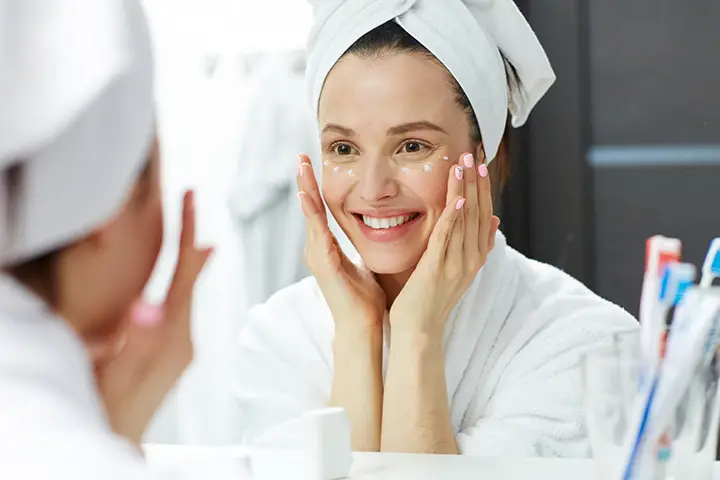
- Use a good moisturizer to prepare the skin for the makeup. It will also make your skin look fresh throughout the day.
- Get the primer you regularly use and apply it with a foundation brush on face and neck. Using the primer helps to reduce the fine lines and other imperfections of the skin. If you do not apply it on your neck, the face and neck will appear in a different color in pictures.
- You can cover the common problem areas of your skin such as under-eye area, blemishes, and spots around nostrils or cheeks, laugh lines, etc. using a well-branded.
- Always apply concealer in very small dots and blend it well with the primer you use. Do not use any sunscreens if you want to avoid washed-out look in photos taken with a flashlight.
- To prevent the whiteness of concealer from overpowering your base makeup, it is better to mix little concealer with a tiny drop of primer before applying it under the eyes.
- If you want to avoid the oily look on your face in the photos you need to give a matte look to the T-zone of your face. Dust some quality translucent powder on the ridge of your nose, space between your brows on the forehead and chin.
- This is a one-time makeup application procedure. Just remember to tap the T-zone areas with a blotting paper before you pose for the photo.
2. Work on Your Eyebrows
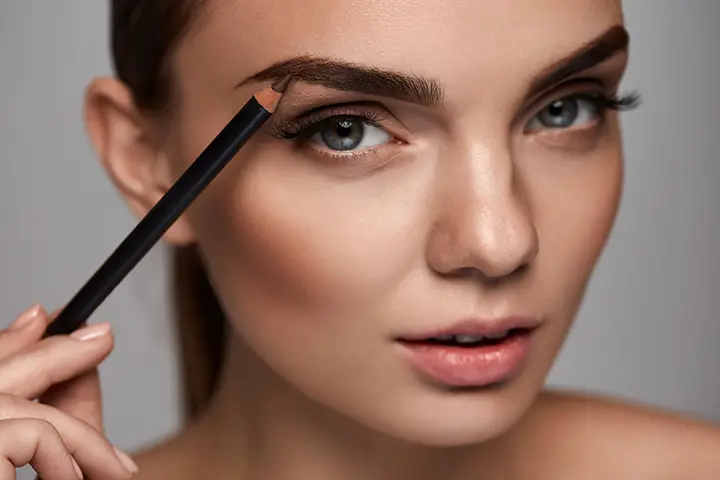
- If you want to have a youthful look in photos you need to define your eyebrows using an eyebrow pencil. Make thin hair-like lines using the pencil to make the brow look fuller and fresh.
- Start making strokes from the inner side of the eye and move outwards to create a gradation.
- This will give a natural look to the face in real life and photos. You need to bear in mind that you need to use the eyebrow pencil only after you have done your base makeup.
- Whenever you feel that the color of the brows is going dull, you can re-apply it. Keep a pencil in your purse so that you can use it when needed.
[ Read: How To Shape Your Eyebrows Perfectly ]
3. Apply Eye Shadow
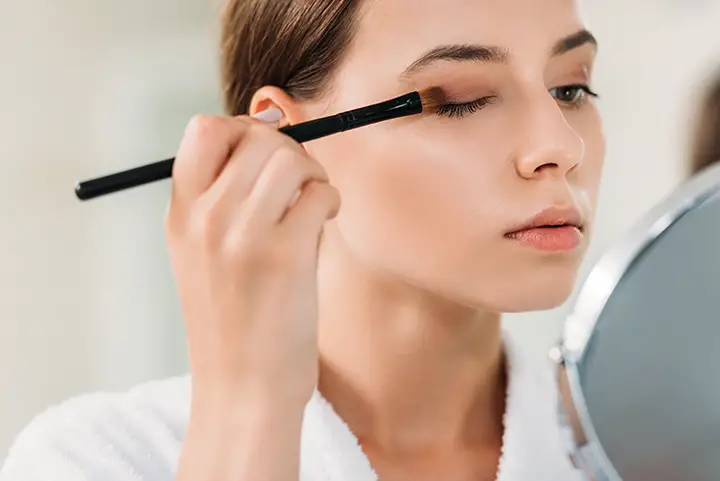
- You may need to use a neutral shade, darker shade, and the highlighter to make the eyes look larger and well defined. Use a soft eye shadow brush for easy and perfect application.
- Use the neutral shade to give shape to the eye. Apply it with a brush on the lid in an even coat.
- The darker shade is for the crease and the highlighter, when applied to the inner corner of the eyelid and just below the brow bone will brighten the eye contour.
- The eyeshadows need to be used after you have put the makeup and also done your brows.
[ Read: How To Apply Eyeshadow Like A Pro ]
4. Apply Eyeliner and Mascara to Highlight Eyes
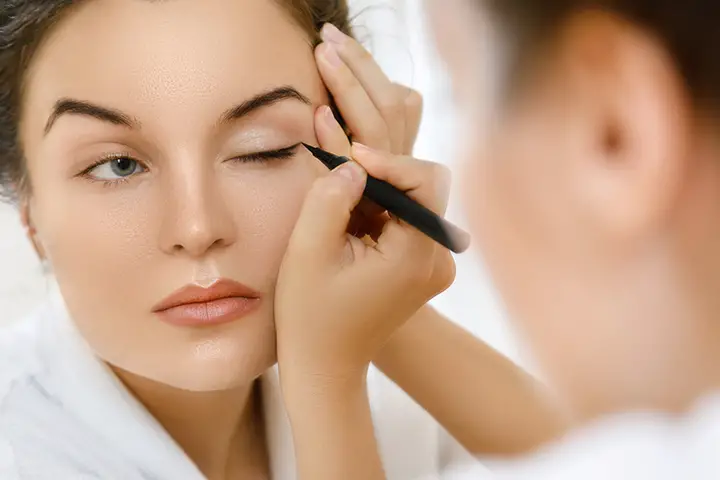
- Using a thin brush draw a slender line close to the eyelashes of the upper eyelid. You can start drawing a line from the corner of the eye. It will be better to use a pencil eyeliner to get the desired effect.
- You can get some dramatic effect by creating a wing by extending the line a bit on the outer end of the eyelid.
- You can also opt for false eyelashes if you want to enhance the look of the eyes. Finish the eye makeup by applying the mascara.Apply the second coat of mascara if you want to make the lashes prominent.
[ Read: How to Apply Mascara ]
5. Contouring
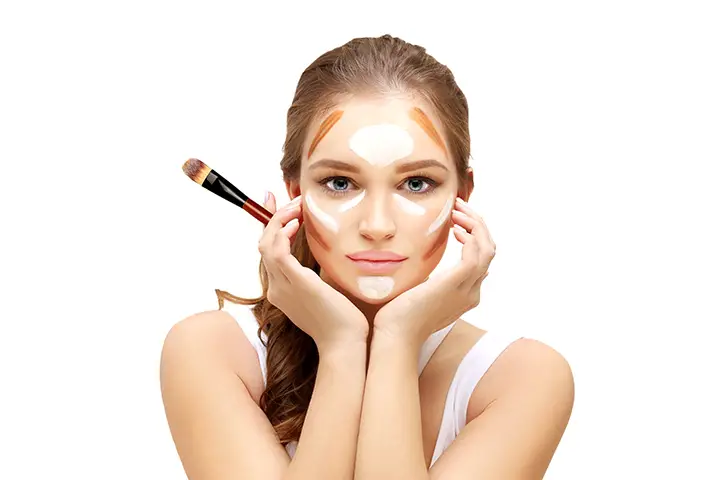
To get the right contouring, you will need to invest in high-quality highlighter, bronzer, and blush.
The Procedure
- Apply highlighter on the mid-portion of the nose, just above the cheeks and the inner corner of the eyelids. After the highlighter applies blush close to your skin tone on the cheeks.
- Apply bronzer on the temple area, below the cheekbones, on the jawline and either side of the nose. Using fan brush blend well to get a radiant look when flashes are on.
[ Read: How to Contour Your Face ]
6. Do Your Lips
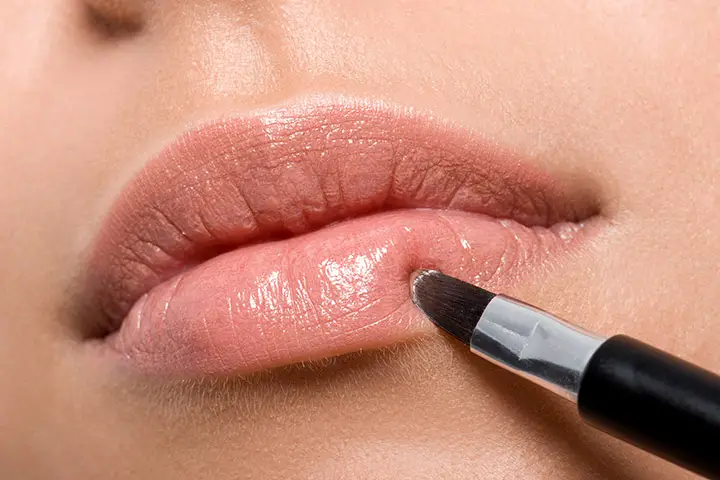
- To get the perfect photogenic face, you need to do your lips. So, make sure to use the best lip moisturizer, lip liner or pencil and lipstick on the lips.
- If you want your lipstick to last long, moisturize the lips using a good moisturizer. Blot off any excess moisturizer before applying lip liner.
- Use a lip liner which is a bit darker than the lipstick you are going to use. Now apply the lipstick within the border created by the liner.
- After applying your lipstick rub your lips together to spread it evenly. Using a tissue blot off the excess lipstick.
- Once you complete make-up set the make-up using setting spray so that it stays for a longer duration.
[ Read: How to Apply Lipstick Like a Pro ]
Avoid using glittery eye shadows and shimmery highlights as this can make you look face oily in photos. Always select the foundation which is similar to your skin color. Use lip balm or moisturizer to avoid cracked lips
Take a selfie with flash on before you go out to get an idea of how your makeup looks in the photo. If you follow the instructions given and do the makeup accordingly, you can get an amazing look in photos.
You Might Also Like:
- How to Make Your Face Look Thinner
- How To Do Your Own Prom Makeup Like A Pro
- How to Make Your Makeup Last All Day?
- How to Get Perfect Cheekbones With Makeup
- How to Apply Makeup to a Round Face
- How to Apply Makeup for Dark Skin
- How to Apply Makeup Like a Pro
- Makeup For Teens – Simple Tips & Tricks to Apply Makeup Perfectly
- How to Apply Makeup Primer – The Complete Guide
- How To Make Your Lipstick Last Longer
- What Should You Do Before Applying Makeup?
- How to Apply Simple Everyday Makeup
- How to Apply Highlighter Makeup Correctly?
- 7 Steps To Apply Eye Makeup For Natural Look
- Simple Eye Makeup Tips For Big Eyes
- How to Cover a Bruise with Makeup?
- 8 Best Makeup Tips For Square-Shaped Faces
- How to Do Your Own Wedding Makeup
