Important: This article is for informational purposes only. Please read our full disclaimer for more details.
Sometimes even the most experienced face challenges, as a makeup artist this is no exception. Accurately applying your lip liner can be a hustle, that’s why even the most experienced need regular practice. Whether it’s applying too much, too little or missing the important edges. Hence we give you some quality tips on how to apply lip liner and get your glow on!
Requirements:
- Lip Liner
- A Mirror
- Exfoliating Balm
- Lip Scrub
- Toothbrush
- Concealer or Foundation(Optional)
- Tissues
- Primer (Also Optional)
- A Sharpener
Article Contains
How to Applying Lip Liner Step-by Step Guide
- Preparing Your Lips
- Moisturizing Your Lips
- Allow Balm to Dry
- Prime the Lips With Primer
- Selecting Your Liner Color Preference
- Sharpen Your Lip Liner
- Test the Liner Before Use
- Part Lips
- Trace Over Natural Lip Outline
- Completing the Look
- Concealer or Foundation
- Best Lip Liners to Step Up Your Lipstick Game
How to Applying Lip Liner Step-by-Step Guide
1. Preparing Your Lips
Prevention is better than cure, therefore if your lips are already healthy and smooth you can skip to next step. Albeit optional, we recommend exfoliating your lips with exfoliating balm. Removes dead skin cells, crust, and debris. With a toothbrush, gently scrub the balm against your lips. Gently ensure all lip area is scrubbed.
2. Moisturizing Your Lips
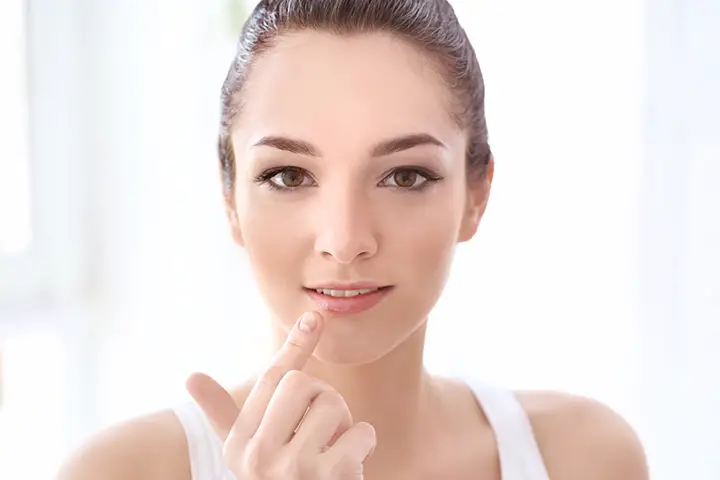
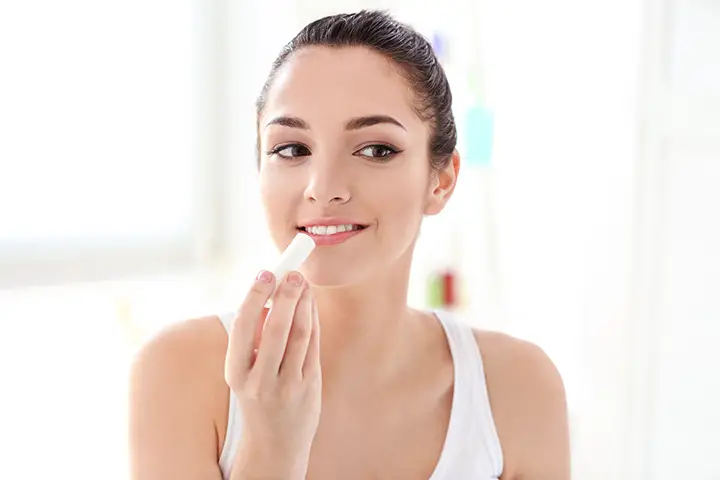
Begin by applying moisturizing balm across the surface of your lips. Run through on every crevice and crack. Frequent moisturizing of lips is very beneficial to your lip care. Avoid waxy balm, it remains on the surface while we need it to sink into the lips. Chapped stips work just as fine as well.
[ Read: How to Apply Lipstick Like a Pro ]
3. Allow Balm to Dry
After your lips are well moisturized, give it 20-30 minutes to fully sink in and allow to dry. The longer the better. For those on the go, gently remove any excess balm with soft tissue and wait for a few minutes. It’s good practice to allow the balm to fully dry. This helps condition the lips and keep them hydrated and smooth.
[ Read: How to Apply Lip Gloss ]
4. Prime the Lips With Primer
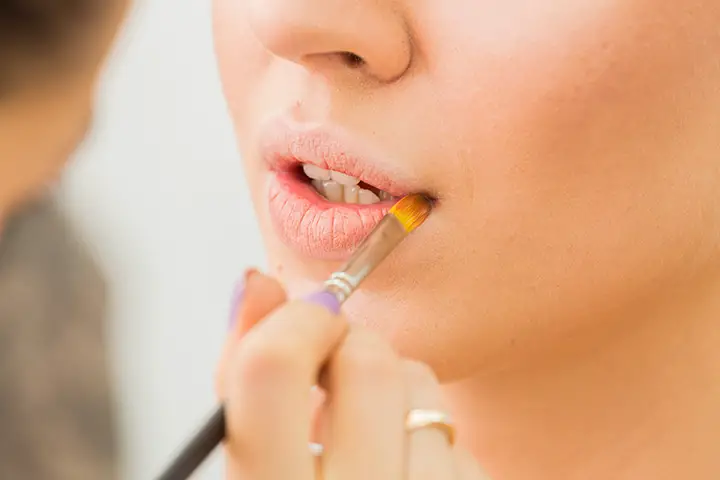
Not necessarily essential but it’s a practice endorsed by makeup artists. But for those spending a long night out and need their lipstick and liner to last longer. then priming your lips is key. Alternatively, concealer and foundation can be used to modify the appearance of your lips if you plan to change the shape, length, and width.
[ Read: How to Apply Concealer ]
5. Selecting Your Liner Color Preference
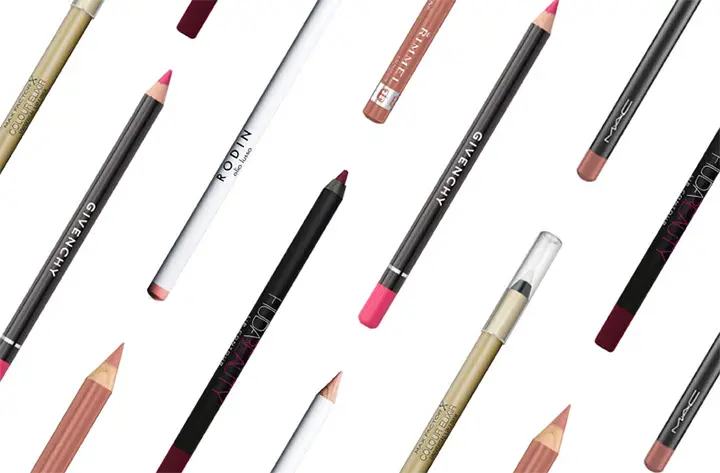
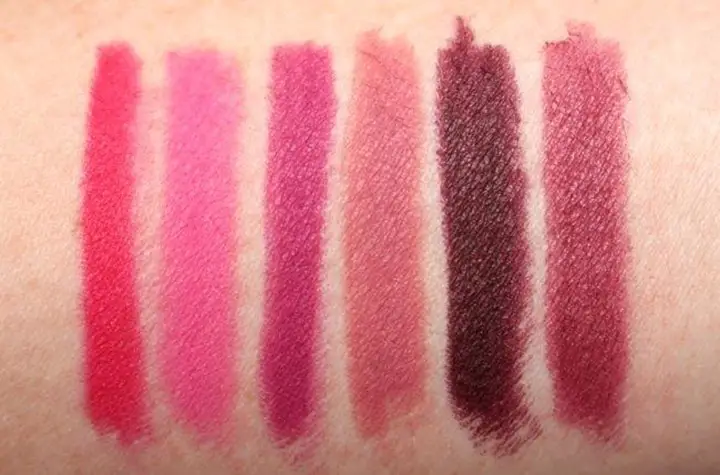
When selecting the color, ensure to bear in mind to match the color against the lipstick you plan on wearing. Red liner matches with red lipstick. A soft pink, nude pink goes well with natural lips. Purchase a variety of different colors and experiment the effects with different shades of the same. You’ll find softer shades have a muting effect on bolder colors and vice versa.
[ Read: How To Apply Eyeshadow ]
6. Sharpen Your Lip Liner
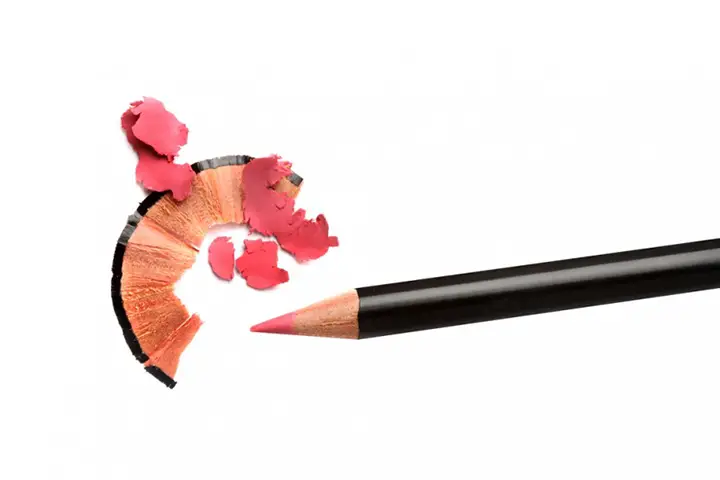
This can be done with a regular pencil sharpener or knife in case the latter is unavailable. A well-sharpened liner will draw out a precise, clean, thin line while a dulled line creates a thicker outline. A good trick you can do is to freeze the liner in a freezer for a few minutes. What this does is it solidifies the nib. It prevents it from snapping easily giving you a stronger nib and a much cleaner outline.
7. Test the Liner Before Use
Before using the liner, test it out against the back of your hand or on a piece of paper. Sometimes you’ll find the liner isn’t drawing, so to prevent a mess up when lining your lips ensure to test out before you begin.
8. Part Lips
Part your lips apart slightly and naturally. This will help bring out a more defined curve and outline as you outline. Closed or tucked in lips will achieve lesser results when outlining.
9. Trace Over Natural Lip Outline
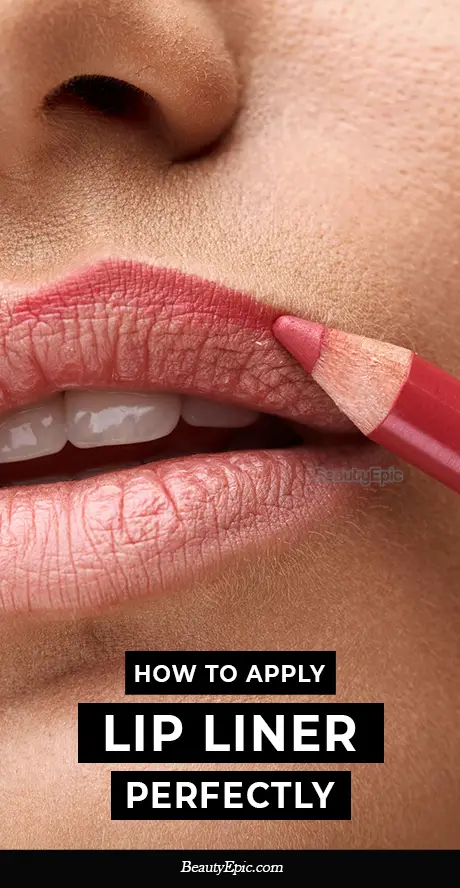
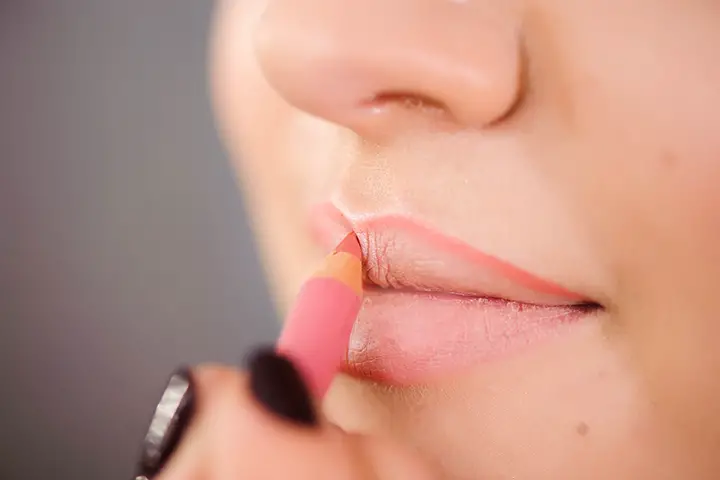
You’d want to aim at tracing the outlines on your lips slowly. Gentle strokes in one direction until you reach the end of the lip curve. A common technique would be to start from the middle and move outwards. As you apply lip liner, make sure to cover up any cracks as this will prevent your lipstick from bleeding.
10. Completing the Look
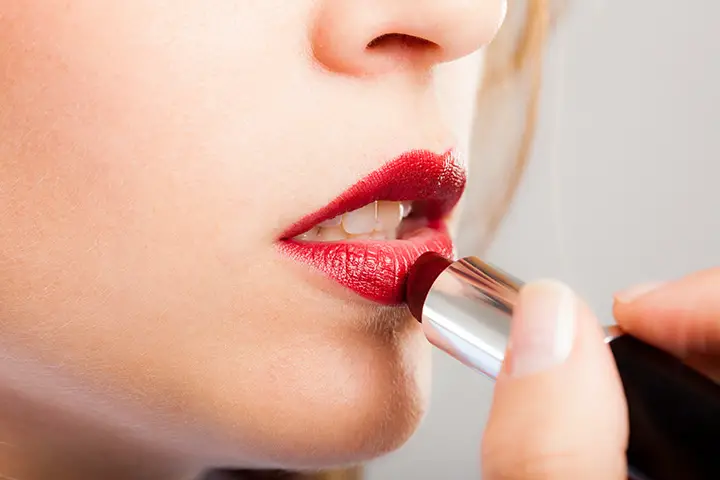
Gently pad the lipstick of your choice onto your lips until it blends with the outline of the liner. A rule of thumb is when you feel a slight heaviness on your lips, tuck in your lips several times. For lipstick that went passed the outline, carefully wipe it off with tissue. You wouldn’t want to accidentally smudge the liner off.
11. Concealer or Foundation
This step is completely optional. If you desire your lips to stand out, apply concealer and foundation around the edges of the lips. spread out carefully to hide away all dark corners. One of the good things about lip liners is its availability. It’s so easy to find them literally anywhere. Avoid chalky as these easily crumble. With correct preparation, you too can bring out the best in your lips with our how to apply lip liner tips and methods.
Best Lip Liners to Step Up Your Lipstick Game
You Might Also Like:
- How To Get Pink Lips With Toothpaste?
- Beauty Blender What is it and How to Use
- 7 Best Lip Liners For Mature Skin
