Important: This article is for informational purposes only. Please read our full disclaimer for more details.
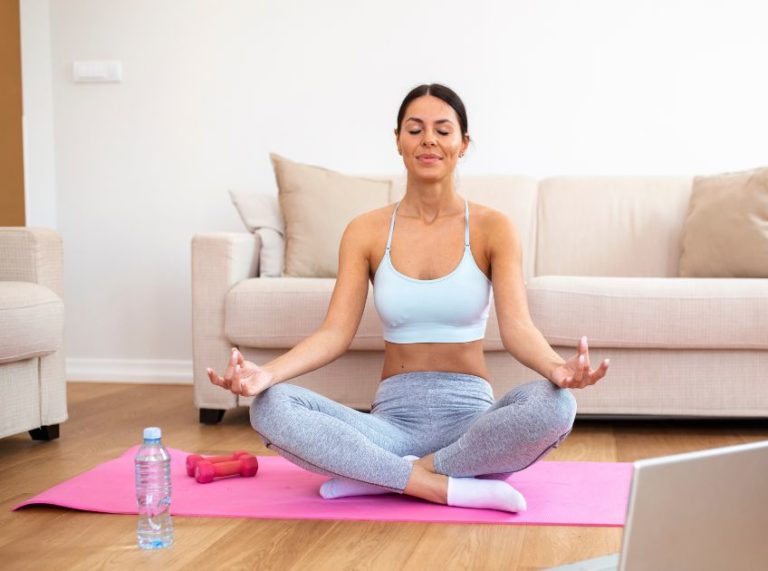
Practicing exercises with breathing on diaphragm is most important to strengthen muscles in the human body that is working ceaselessly.
- The important role of the diaphragm is to affect the functioning of the organs in the abdomen, spine, respiratory, circulatory and lymphatic.
- Strengthening the diaphragm with regular exercise is conducive in relieving the spine, prevents sciatica.
- Frequent movements in the diaphragm helps to avoid problems with congestion of blood or lymph circulation, thus reducing the risk of varicose veins, edema (Swelling from excessive accumulation of watery fluid) and cellulite.
Article Contains
So Here Are the Exercises to Strengthen the Diaphragm

Breathing exercises to strengthen the diaphragm and neck muscles will help you master the art of proper breathing. This exercise relaxes the muscle membrane and thus takes care of the condition of other organs, whichever it influences. Before starting any exercise program you should relax the muscles of the neck.
Exercise 1

- Lie down on your back on a hard surface, one hand lay on his chest (on the bridge), the other in the middle of the chest, between the rib arches.
- Inhaling air through your nose and exhaling from mouth, make hands to control the movements of the chest which fills with air.
- This should be supervised by an inhale diaphragm collapsing in the abdominal cavity and the abdominal muscles are shown.
- When you exhale diaphragm move the chest and abdomen collapse.
- After each inhalation tighten the abdominal muscles and stop for a few seconds of air in the chest.
Exercise 2
In the supine position, on a flat and firm surface put a book on your stomach (about sensible weight).
- Inhaling air through your nose and exhaling from mouth slightly open so as to lift the book.
- Stop the air for a few seconds and gently release, so that the book gradually decreased.
- You can repeat the exercise, diversifying with pronouncing elongated sounds for exhale.
Exercise 3
Remain in a supine position.
- Pull in air through lips but very slowly, it should take us a few seconds.
- After filling the chest with air, hold breathing for two seconds then breathe out quickly by taking care to first release the air from the lower part of the chest.
- With each repetition of the exercise should be a longer time inhaling air.
Exercise 4
Exercise performed in a standing position with the feet slightly apart.
- Lay hands on the sides of the waist, thumbs should be at the back.
- Then do a quick breath with the nose and mouth.
- With the tension of the abdominal muscles, try to hold for a few seconds of air in the lungs and then breathe out slowly and evenly.
- Exercise repeat with a small change the exhale must be utterly extended.
Exercise 5
Standing with legs apart and hands on the waist breathe through both nose and mouth.
- After getting air into the lungs try to hold the breathing for a few seconds.
- Slowly exhale the air from mouth, but do this with several interruptions (pauses) lasting up three seconds.
Exercise 6
- Stand still astride but hang hands free to leave on your sides.
- During a quick, full breath raise your hands to the side.
- Exhaling slowly back while hands moved to the starting position.
Exercise 7
This exercise will need a candle.
- Remain in a standing position.
- In one hand, hold the candle so that the flame was at the height of your mouth (approximately 25 centimeters).
- The other hand must be placed on her stomach.
- Make a quick breath with mouth and nose then breathe out slowly and evenly – so that exhaled on candle flame.
- The exercise can be repeated with diversion as you exhale, you can change the intensity of deflation in mouth to a candle flame rose and bent alternately.
Exercise 8
- Instead of a candle use a piece of paper (A4) would be fine.
- Keep the cards of paper at same distance from the mouth, like a candle a holding.
- Then perform a series of rapid inhalations and exhalations.
- During exhalation try to blow as hard as on the card to be deflected.
- When exhaling should clearly feel that you are working on diaphragm and abdominal muscles (hand on your stomach should be repelled).
Exercise 9
Standing in posture at a stable point
- Hands resting at the waist, with your thumbs on the back.
- Offer a full and quick breath, mouth and nose, while pulling the belly.
- While exhaling air strive to count (at least to 10 and eventually increase this number), to exchange days of the week (at least once), pronounce the tongue twisters (e.g. In drought dry road).
Exercise 10
- Stand back straight and hands resting on waist.
- Breathe the air from nose and then exhale through mouth while leaning forward (making slope).
- Again breathe as same, but this time exhale from mouth slowly and at the same time return to a standing position.
Points To Be Noted
- For good effect it must be practiced twice a day.
- Do not exercise right after eating, it is best to wait an hour or do exercises before having meal.
- Exercises must be performed with slightly tilted head forward direction.
Regular movement of the diaphragm can avoid problems with congestion of blood and lymph circulation, thereby reducing the risk of varicose veins, or cellulite. Breathing the diaphragm also helps to fight stress, because it helps in calming emotions.
Thus breathing diaphragm provides a massage to our internal bodies, and thus supports their proper functioning.
You Might Also Like
- 50 Benefits of Deep Breathing Exercises for Mind and Body
- 8 Simple Exercises for People With Arthritis
- 8 Exercises to Burn Fat 2 Times Faster
- How to Tone Your Inner Thighs Fast?
- 8 Best Exercises to Strengthen Your Neck
Image:- 1


