Important: This article is for informational purposes only. Please read our full disclaimer for more details.
It is a dream for every woman to have bigger and youthful eyes. Not all are blessed with them. Even if you have small eyes there are ways to make your eyes stand out, especially if you employ the right makeup techniques.
For women, it is their eyes that are an important part of their face and beauty. Eye makeup can help define your eyes and even if they are small, there are unique ways to make them stand out.
1. Spruce Up the Eyebrows
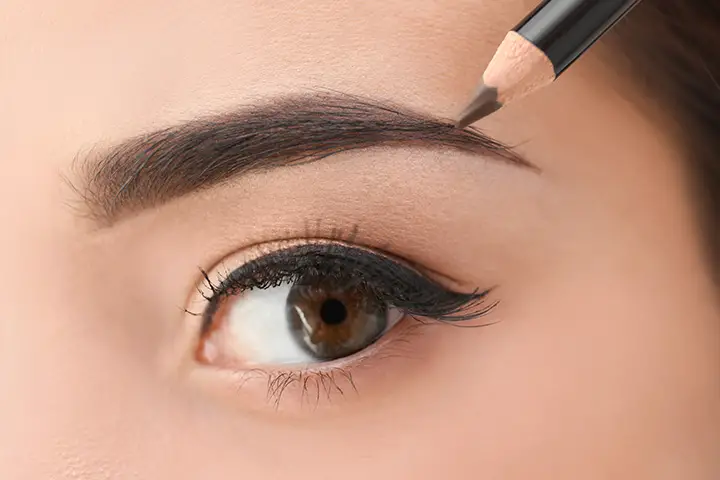
When you wish to highlight your eyes, start with the eyebrows. These are the arches that help define the eyes below. If you have sparse eyebrows there are ways to enhance them, darken and thicken them with the right makeup tools.
Begin by trimming your eyebrows. If there are messy hair opt to pluck or brush them. If there are gaps in between, you would need to fill them in. You will need to keep the eye mascara, eyebrow pencil of brown and black shades, and plucker before the eyebrow makeup.
Begin by plucking out hairs that make your eyebrows look messy. Once that is done opt to fill in gaps in the eyebrow. Start by spreading out the hair with mascara; once that is done fill in with the eyebrow pencil. It can be a liner pencil as well. Stick to the natural line and fill in lightly, following the natural curves and lengths.
To make eyebrows thicker, you can apply natural products like castor oil or coconut oil or olive oil. Clean the brow and then apply the chosen oil and massage it for a few minutes. Leave it overnight and clean the next day morning.
[ Read: How To Shape Your Eyebrows Perfectly ]
2. Cover Dark Circle Areas
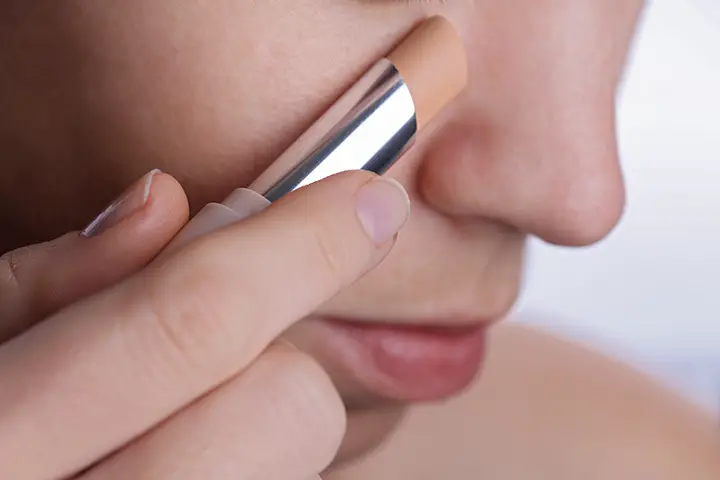
This is necessary in order to make your eyes look fresh and noticeable. If you have noticeable dark circles under the eyes, it is easy to use a concealer to lighten the areas under the eyes. Apply lightly under the eyes; smoothen out the dark circle area and blend in well with the face foundation. Use only one stroke of the concealer under each eye.
[ Read: How to Cover Dark Circles with Makeup ]
3. Use a White Eyeliner
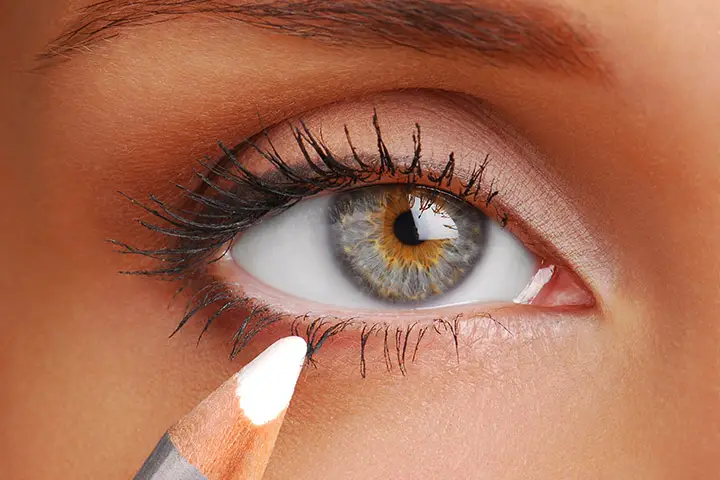
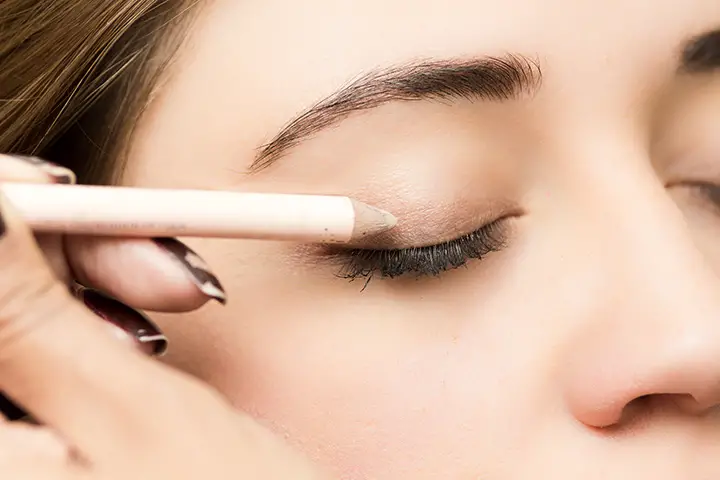
You might think that a black or dark shaded eyeliner is what is required to highlight your eyes, but that is not always so. While a defining dark shade is always required, it is best to pair it with white eyeliner that will help freshen the look and add contrast to your looks. Apply this on the bottom waterline. It will help freshen the look of the eyes and make them appear brighter and wider.
[ Read: How to Apply Liquid Eyeliner ]
4. Use Lash Curlers
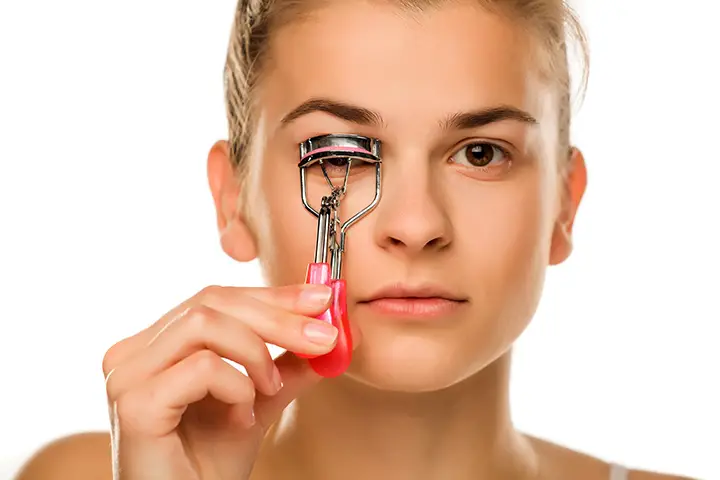
This will help to widen the eyes; lashes being lifted will lead to more visibility to the eyes. You can add a dewy look by using Vaseline on the eyebrows. Apply or dab Vaseline to the eyelashes. This will help to separate them. Apply eyelash curler in three sections, taking care not to pinch the skin.
[ Read: How to Use an Eyelash Curler ]
5. Lighten Inner Corners
This will help brighten the eyes. You can use concealer or white eyeliner to brighten the corners of the eyes. Use a dab of foundation or white eyeliner on the inner corner of both eyes. Blend in with the skin.
6. Line the Upper Eyelids
This is the defining move to complete your eye makeup and doing it on the upper line right will help define your eyes and make them look bigger.
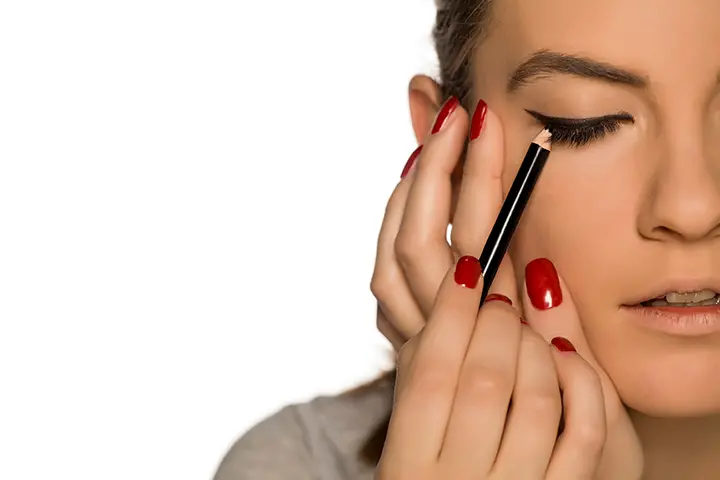
Use an eye pencil to line the upper eyelid, making the line move outward and upward at the edge. It gives the cat-eye look and also helps to make the eyes look brighter and wider. Use only one or two strokes for each eye. I can be repeated once the color fades away or after you’ve washed your face.
The above steps will help to define the eyes and make them appear wider and bigger. If you wish to add more colors, use an eye shadow of a shade of your choice to fill in the areas between the eyes and the eyebrows.
You Might Also Like:
- Eye Makeup For Brown Eyes – Tips and Tricks
- How To Do Cat Eye Makeup: Easy Tips & Tricks
- Eye Makeup Tips And Tricks For Black Eyes
- Eye Makeup Tips for Close Set Eyes – Step by Step Guide
- 7 Steps To Apply Eye Makeup For Natural Look
- Simple Eye Makeup Tips For Big Eyes
- How to Do Eye Makeup for Blue Eyes
- Essential Oils For Eye Stye
- Eye Makeup Tips for Beginners
- Eye Makeup Tips for Close Set Eyes
- 10 Best Smokey Eye Palette
- How to Apply Eye Shadow by Eye Shape?
- 10 Best Waterproof Eyeliner
- Eye Makeup For Deep Set Eyes – Tips and Tricks
- How To Make Small Eyes Look Bigger With Makeup
- 10 Best Smudge Proof Eyeliner
- 7 Best Eye Creams For Droopy Upper Eyelids
- Best Eye Makeup Tips For Almond Shaped Eyes
- 6 Best Eye Makeup Tips for Grey Eyes
- How to Hide a Black Eye with Makeup?
